Mar 27, 2019
For many of our SOBS applications a school calendar is required so that we know when you will be at school, when you will be on holiday and possibly the timetable you are using.
Below we will outline the setup for your school calendar. We will define the school year, the terms, the in-term holidays, and optionally the timetables to be used.
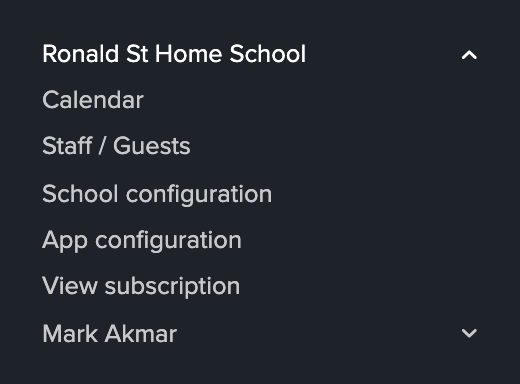
We will start by locating the Calendar maintenance. Firstly, ensure you are logged into SOBS as a SOBS Administrator. You should see your school name and your name in the bottom left of the screen, click on the School name to reveal this menu.
Menu options will vary depending on the application
Select the “Calendar” entry. Note, if the “Calendar” entry doesn’t appear then the application you are logged into doesn’t require a school calendar to be defined. (Do you need to change to an application that requires a calendar?)
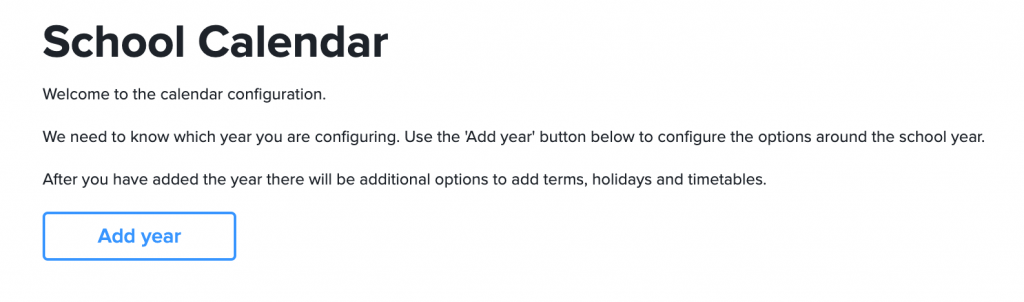
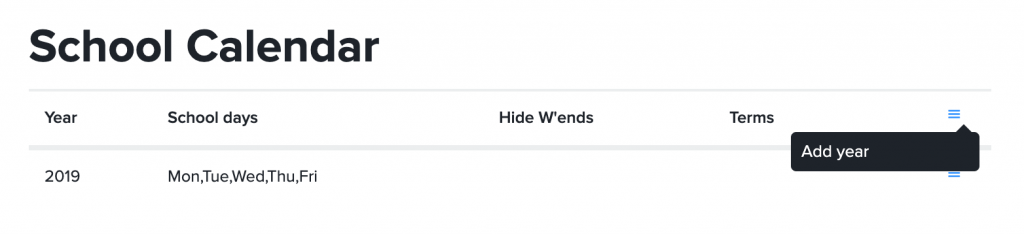
To add a year click the “Add year” button or select “Add year” from the action menu on the right.
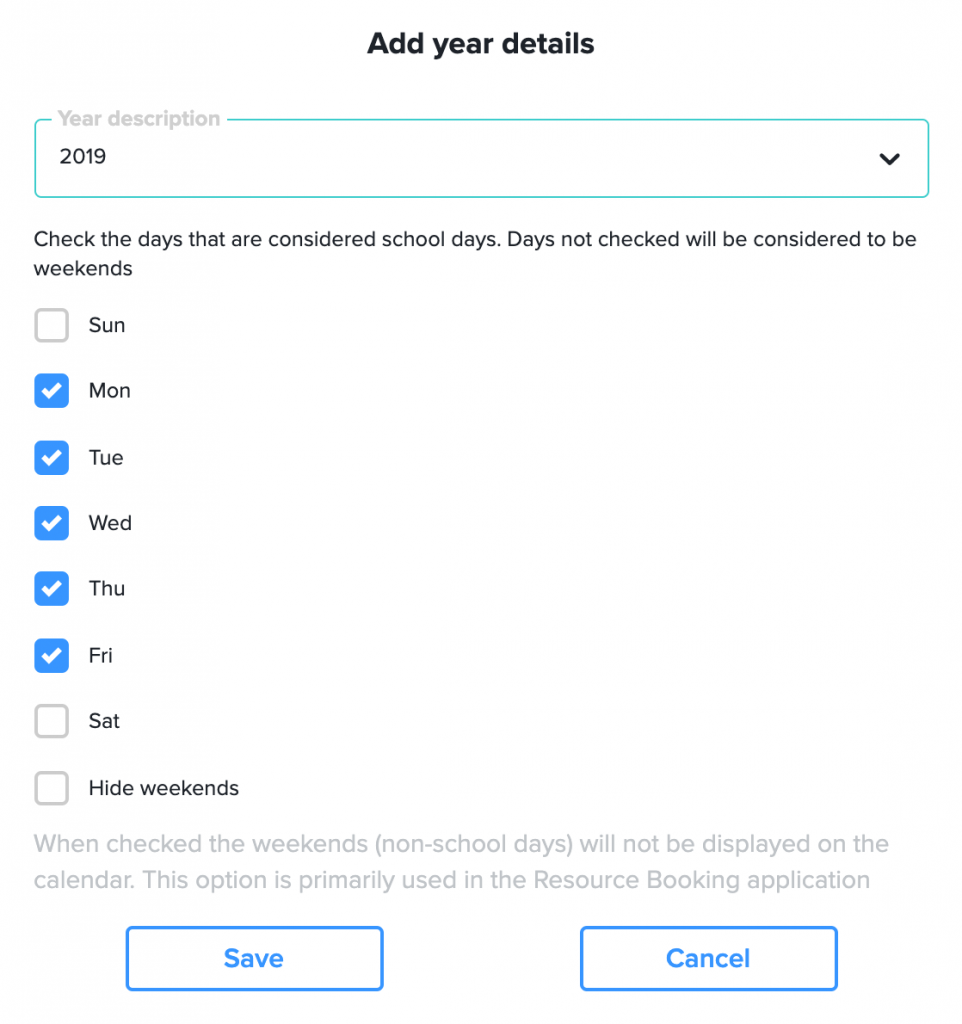
Select the year to add, identify the school days and optionally you can hide the weekends. Click “Save”
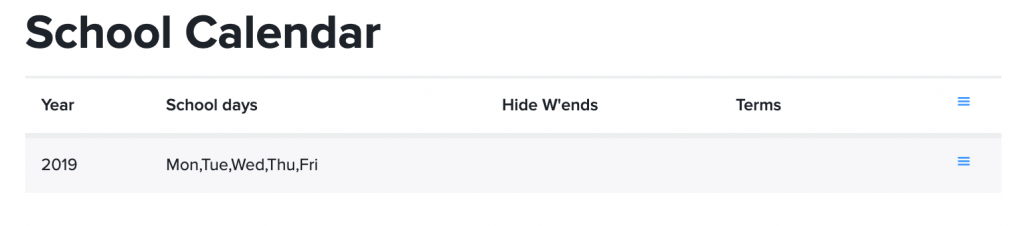
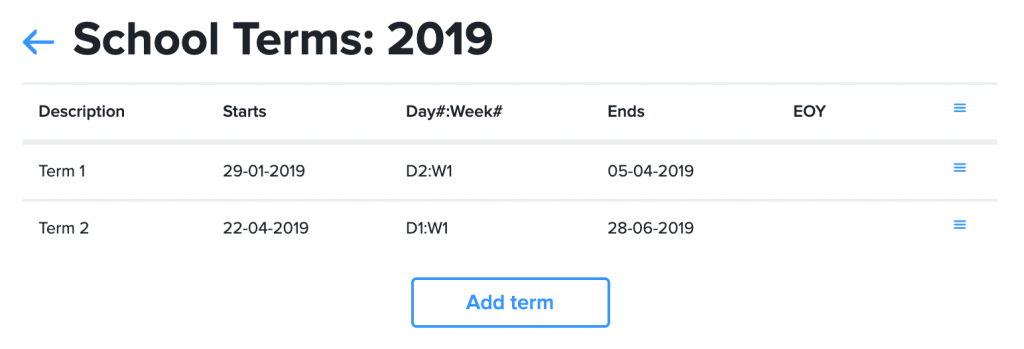
To view the terms for a particular year you need to select the year. Simply click on the row to view the terms for each year.
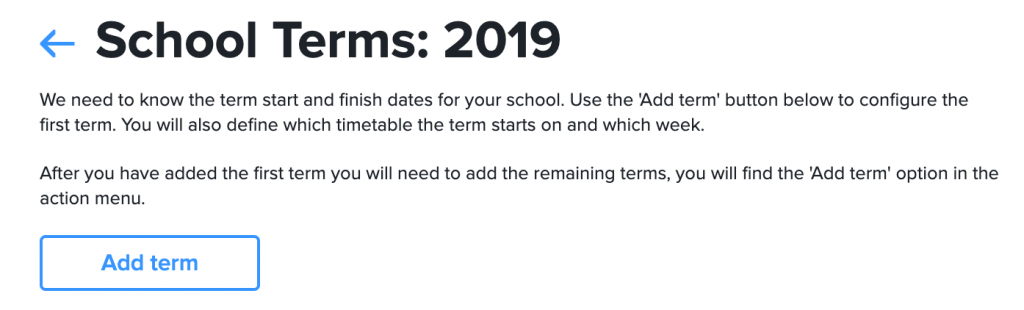
To add a term click the “Add term” button. If there are existing terms listed use the action menu at the top right of the table to “Add a term”.
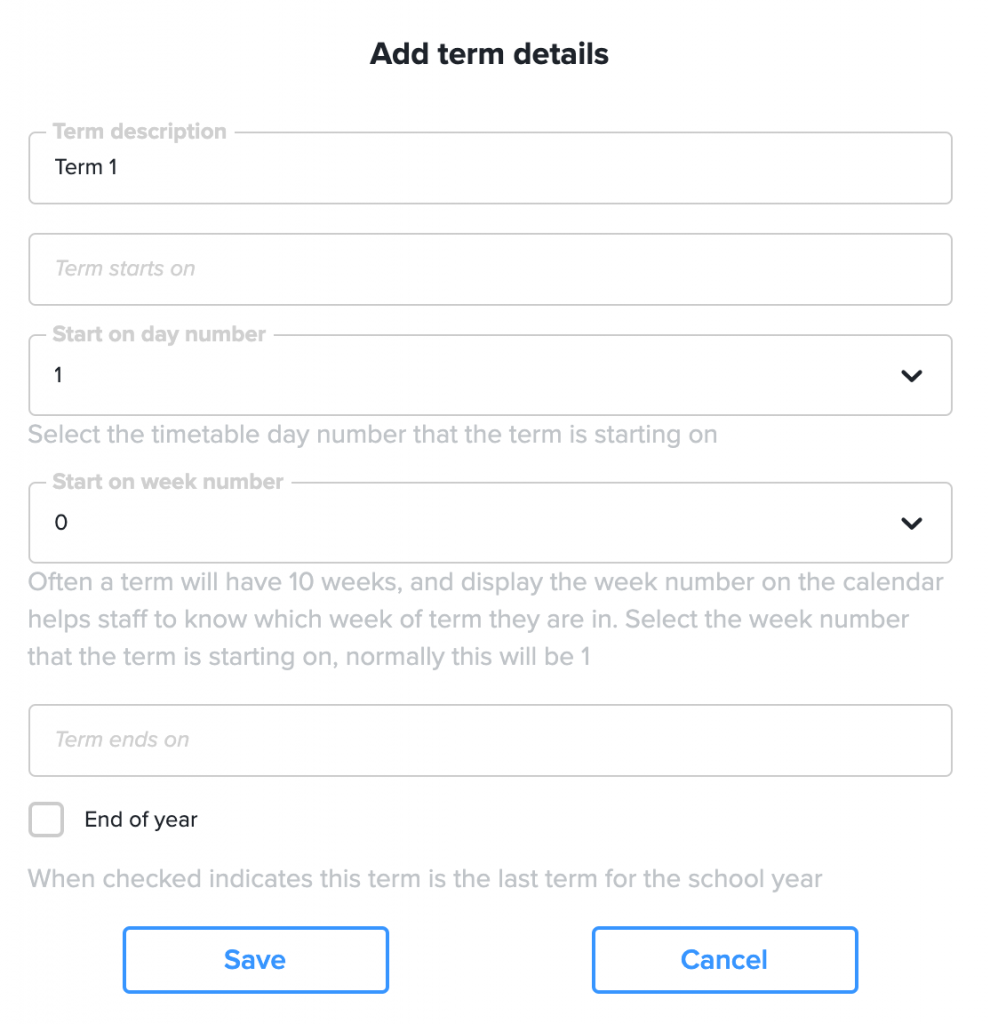
We guess which term you are adding, however you can modify the term description to suit. The start date should be the first day of the term you are defining. You can start on a pupil free day, that’s not a problem.
“Start on day number” is important when using timetables, be definite about the starting day number. For example, if your term starts on Monday and you have a 5 day cycle you probably want to start on day number 1, being the first day of the cycle. Starting on Tuesday would be day 2 etc.
“Start on week number” can be helpful for staff to be reminded of which week of term they are in. If you term is starting on a Thursday or Friday this might be considered week 0, however generally if you are starting the term on Monday or Tuesday it will probably be week 1.
Finally select the end of term date and check the “End of year” box if this is the last term for the school year.
If you are not sure you can always come back and modify these details, so don’t worry.
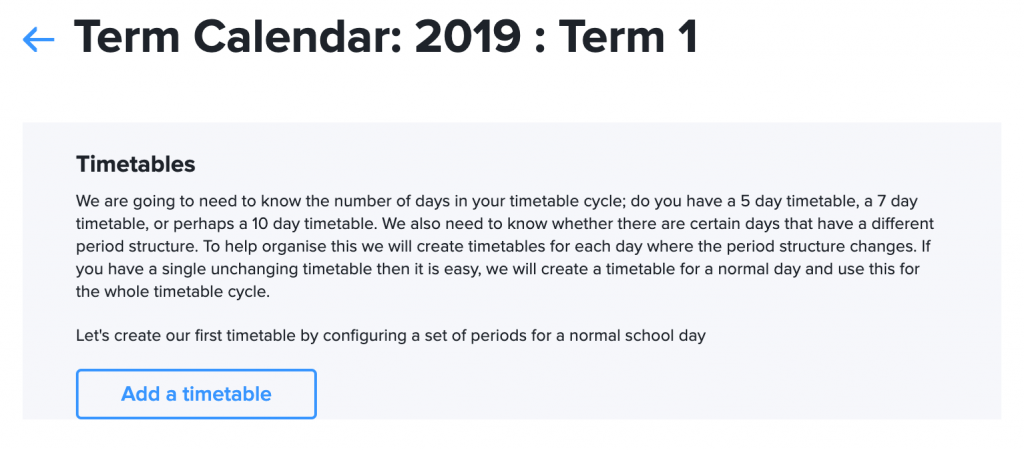
To configure your time tables simply click on the first term. When we save a timetable we will apply it to the term you click on, and all following terms.
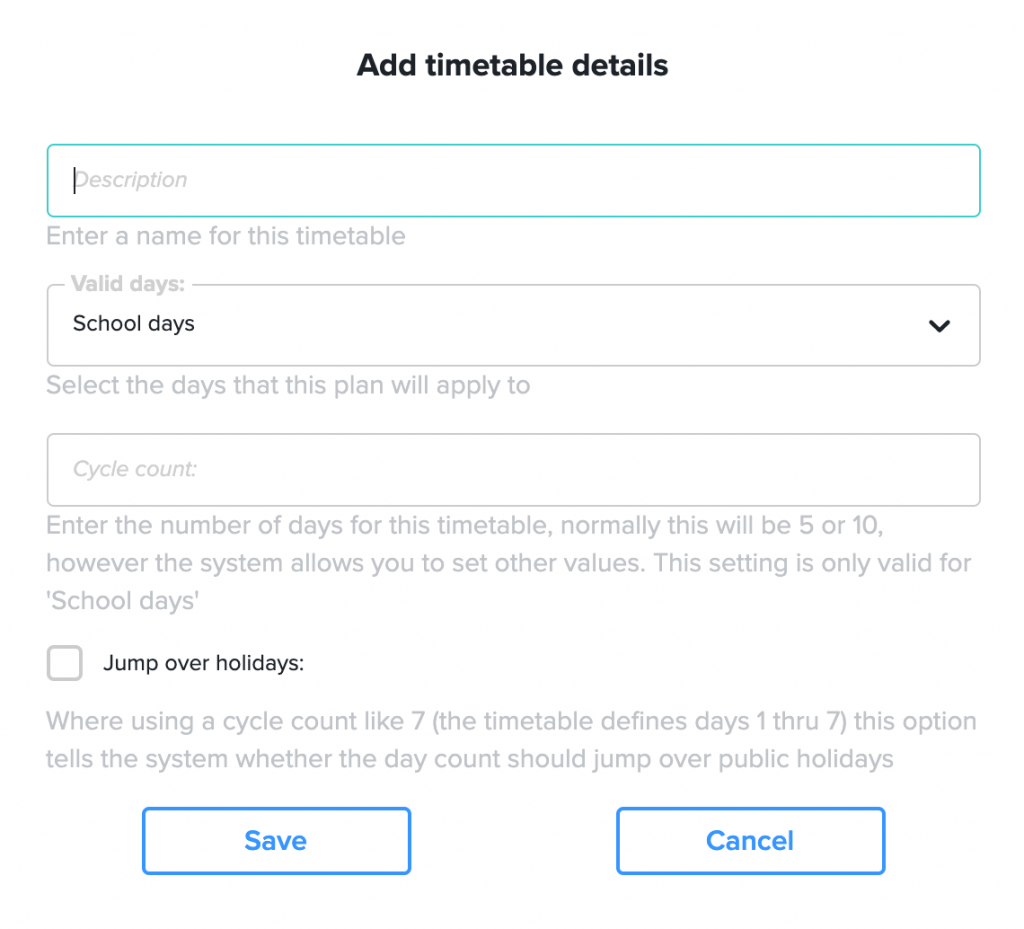
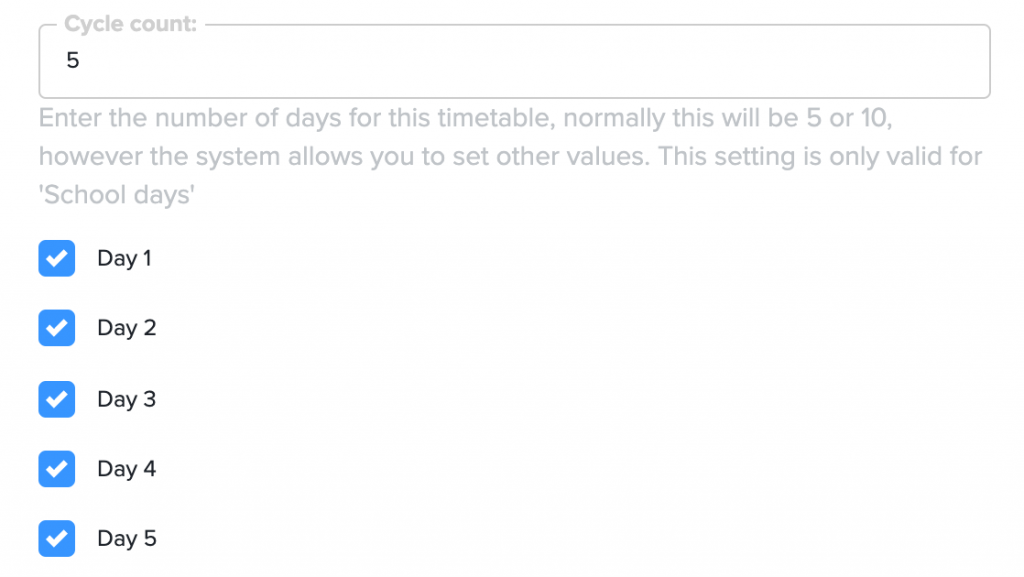
Input your timetable details and click “Save”. The cycle count is the number of days in your timetable. For example, enter 5 for a normal Monday – Friday timetable. If you have a fortnightly timetable then you would enter 10. Some schools also use a 6 or 7 day timetable. When you enter the cycle count a set of checkboxes will appear – you will then be able to select which day numbers this timetable applies to. If you are not sure select them all.

By default you will be setting up timetables for “School days”. However you can also configure timetables for weekends and holidays – these can be helpful in that there are normally less periods defined for a weekend booking. They also provide a visual queue for staff when using the timetables for booking.
“Jump over holidays” will not normally apply for a 5 or 10 day timetable. It is more often used with 6 or 7 day timetables. If you are running a 6 or 7 day timetable you will know whether you need this option or not.
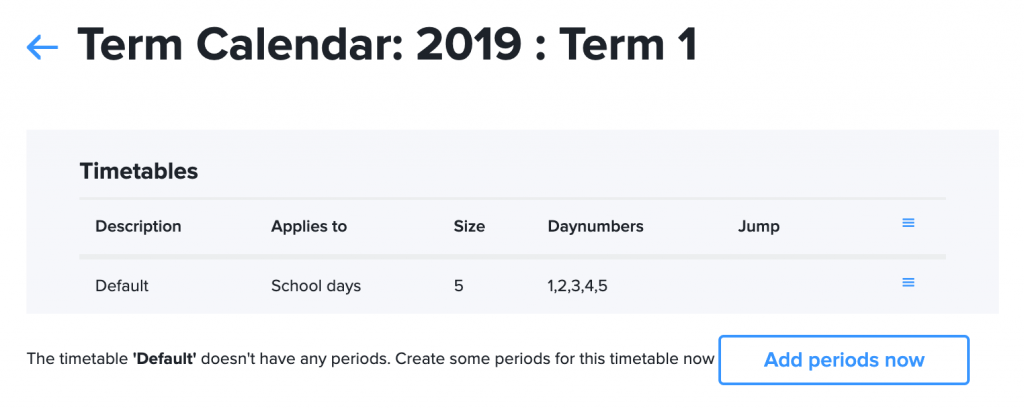
Use the action menu (top right of table) to add additional timetables.
Click the “Add periods now” to define your period structure.
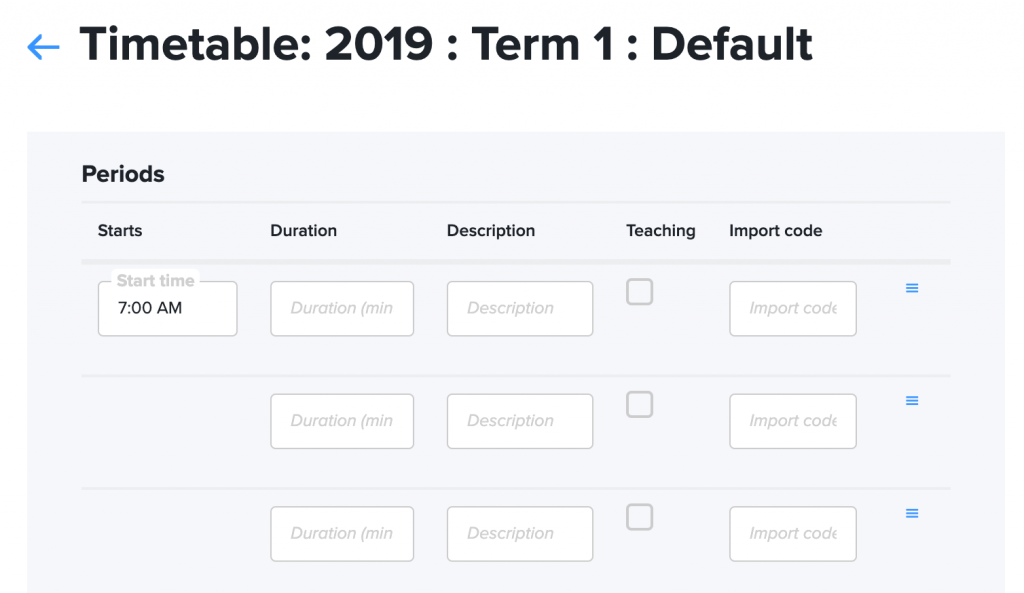
Enter the starting time, this defaults to 7:00am. Enter the duration for each period along with a description. As you enter the duration the application will automatically calculate the start time of the following period.
To improve the visual display we have added the definition of teaching periods – check the box to indicate which periods staff are scheduled with classes – these are more commonly booked by staff.
Lastly if you will be importing booking information from a time tabling application then you can enter the import code in the last box on each line.
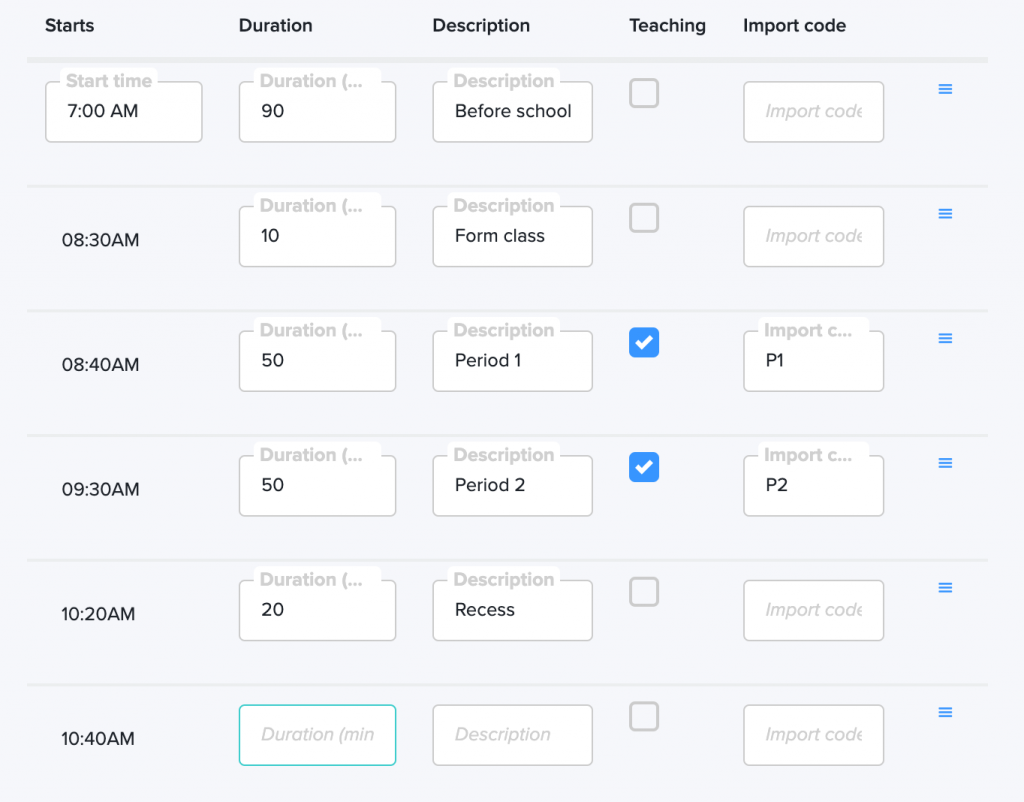
Fill in all of the details for this timetable. Note, you don’t have to fill in every row. Just scroll to the bottom and click the “Save” button. You will be prompted to confirm the changes, the previous version of the timetable will be displayed on the left, this new version on the right, confirm the change.
You have now configured a school year, some terms, and a timetable.
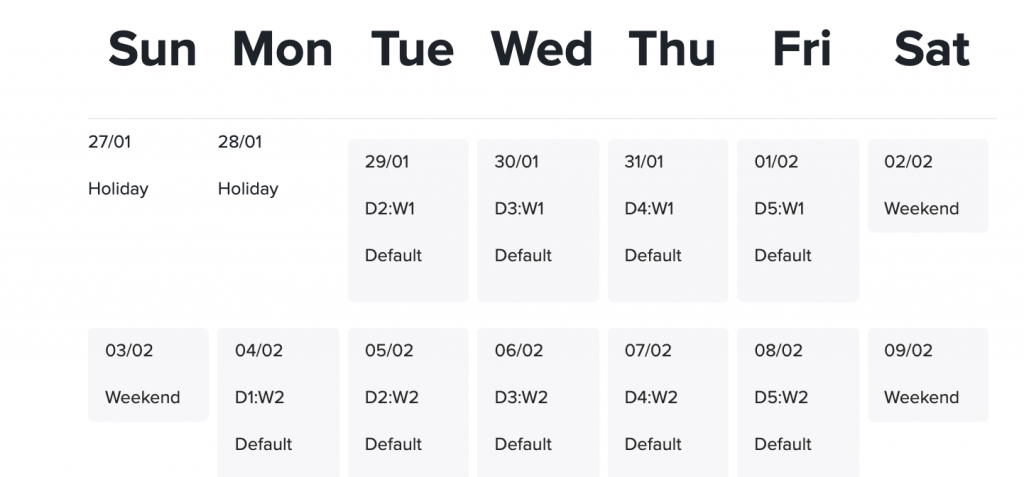
Don’t forget you can add additional timetables for weekends and holidays. If you have multiple timetables you can add the different timetables and then edit the timetable details to define which days they apply to, as below: