Mar 1, 2021
There are two ways of using the Student Attendance Register. You can use it to mark rolls and process absence notifications, or you can import absence information and process the notifications. Either use requires some information to be loaded, essentially student and parent information, optionally class information.
Student, Parent and Class information
You should import your student and parent information from your Student Management (SM) system.
Our preference is to support electronic data exchange with your SM system. If we are able to utilise an API into your SM system, or operate a listening service for data sent from the SM system, either way is preferred over exporting and importing data via an intermediary file.
- We support SIF and LISS interfacing for electronic data exchange, however we have also built custom integrations such as the Kamar listening service. If you have an SM system that supports one of these options then work towards that end.
- We have a number of supported import formats for different SM systems, these are listed on the ‘Import / Export’ page (in the menu under the school name).
The class information is required if you are going to be using the Student Attendance system for roll marking. Otherwise the student and parent data will be sufficient.
Roll Marking
When the staff member first logs in they will be prompted with a list of their classes for today. Clicking on the row will allow the staff member to then check the roll for that class.
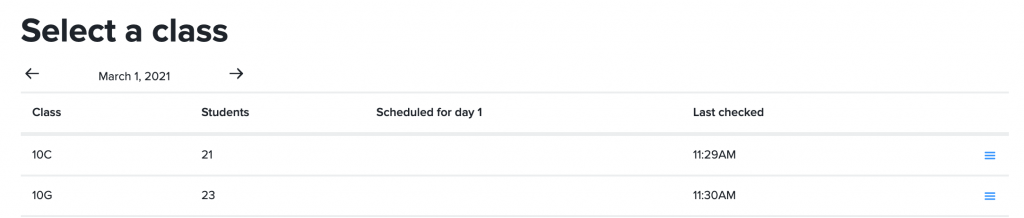
Menu options on the right allow the staff member to add / update the class schedule or remove themselves from a class.

If there is a missing class use the “List classes” menu entry to view all classes, locate the class you have been allocated and assign yourself as the teacher.
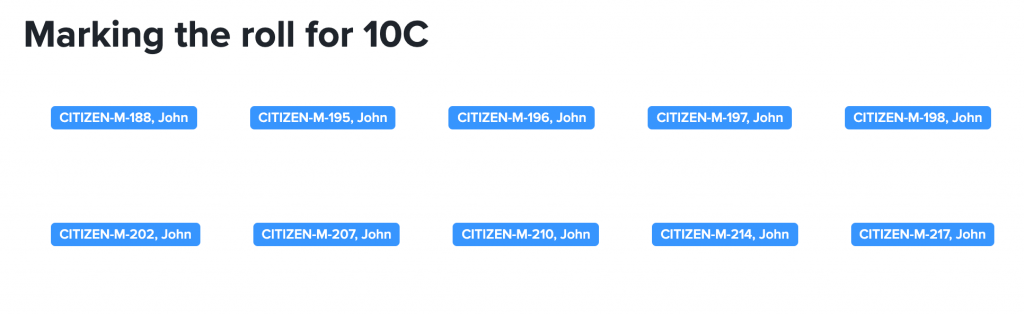
To roll mark the class simply click the student name. This will toggle between Present and Absent. The students are listed in alphabetical order.
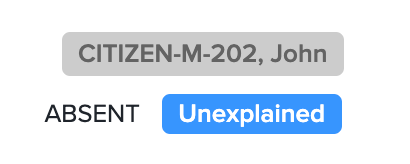
When the name has a blue background that are present, and when toggled the name will have a gray background and the word “ABSENT” will appear. In addition a button to add an explanation is available.

If the staff member is aware of the explanation they can add that now.
The explanation can be added at any time, at the point of absence, or at the time the student is marked present.
All times are recorded, when the student is first marked absent and when they are next marked present. A student is generally considered absent for the duration between these two times.
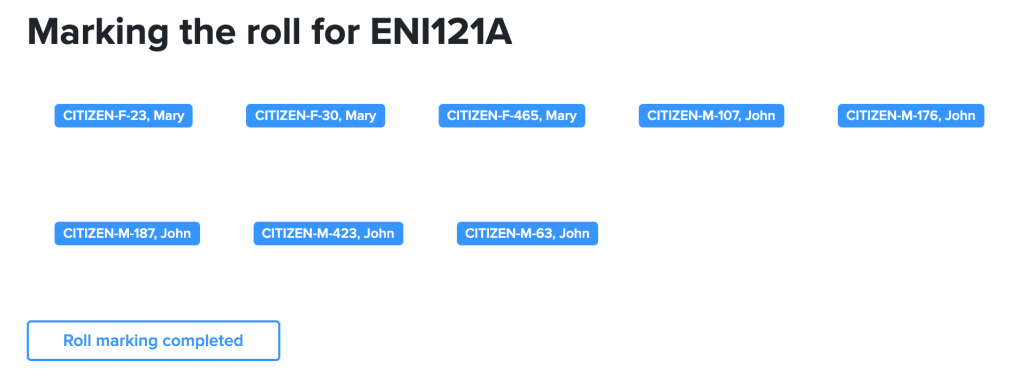
When the roll has been marked click the “Roll marking completed” button at the bottom of the list of students. This will indicate that the roll has been marked and the time recorded.
Importing absence data
If your roll marking is performed using a different system (not SOBS) then you can still import the absence information into SOBS for processing.
Use the ‘Import/Export’ page to import your absence information exported from your roll marking application.
You can re-import absence information – SOBS will always look for current absence detail to update. When we import an absence record SOBS records this as an absence for the entire day – depending on the information provided by the SM system. If you re-import an absence record for this same date the current absence detail will be updated.
OneSchool NOTE: There is an additional import option for schools using OneSchool. These schools may import an SMS/text file – this identifies students, dates of absence, and a mobile number that should be sent a message. In SOBS we treat these dates as full-day unexplained absences. We use the mobile number to update the preferred parent contact for each student.
Set up the notices
In order to process the absence information we must first configure a ‘notice’, a ‘trigger’, and then an ‘action’.
NOTICES

Notices define the content of what the message to the parent or staff member will say. There are a number of substitution tokens – values in capitals surrounded by “%” signs. Notices can be simple messages as might be used in an SMS, or slightly larger as might be used in an Email, or they can be a full letter as might be printed and sent to a parent.
RULES
The rules define a set of conditions that will determine when the notice is generated and sent. Essentially an absence is required in order to send a notification – and a simple trigger might indicate a single day absence of any type, this would be fired when any absence is found. Often we only want to send a notice on an ‘Unexplained’ absence, so you can select ‘Unexplained’ as one of the conditions to generate the notice. You can also specify 1 day or a number of days, and in the case where the absence is a number of days you can add the option of ‘cumulative’ or ‘consecutive’ to this condition.
ACTION

When a rule (trigger) fires it can generate a number of actions – these might be a number of notices to be sent. However in general most triggers will only have a single action, and that would be to generate a selected notice to a recipient via a particular medium. The action will define which notice is to be processed, who will receive the notice, and how it will be sent (via email or SMS etc).
Calendar
You must configure your school calendar, to define your terms and in-term holidays. Roll marking requires this in order to determine the number of absence days.
Processing absences
The “Process absences” screen is multi-functional. It will display different information based on the status of the roll marking and absence processing.
Scenario A: If no roll marking has taken place then there are buttons for importing your absence data.
Scenario B: If some classes are roll marked we will display a list of classes that haven’t yet had their rolls marked. We include a button to send reminders to those class teachers.
Scenario C: If all of the classes are roll marked and there are no absences, a status screen celebrates this small victory!
Scenario D: Either all of the roll marking is complete, or we have imported absences from another source, then we display a list of the absent students and the rules being processed, and the result of those rules (for example, if there is a notice to be processed). At the bottom of this screen is a button to process the selected notices.
Scenario E: After the notices are processed we will display a list of SMS messages sent, along with any responses from the parent.