May 22, 2022
A voluntary classroom is one that doesn’t have any scheduled students. Students therefore arrive and checkin, and then checkout at the end. This function also works well with OSHC (Outside School Hours Care), as it supports a PIN number checkout process.
Getting started
- You will need the Student Attendance application. You can subscribe or start a trial.
- If your school calendar hasn’t been setup, then you will need to create the year and terms in the calendar part of the application. Click on your school name (bottom left) and then on “Calendar”.
Configure your class
If you are just starting with Student Attendance. then you will probably be looking at a page like this:

Click the “Add a class” button to add your voluntary class.
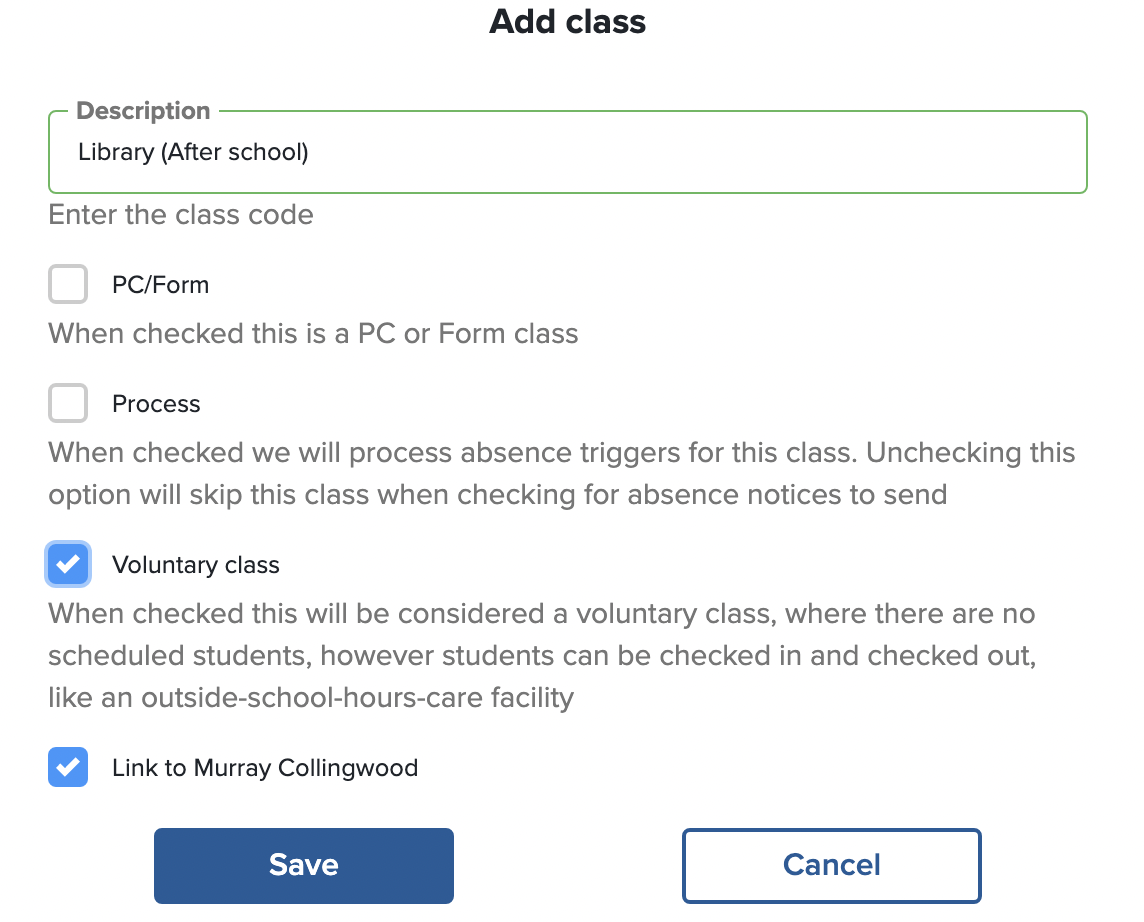
- Add a description for your class
- This isn’t a Pastoral Care or Form class, so uncheck that option
- We don’t want to process absences, so uncheck that option
- Do check the “Voluntary class” option, this will allow the class to operate without any scheduled students
- I want this class to appear when I login, so linking it to my account is appropriate (your name will appear in place of mine)
- Click “Save”
Loading students
Normally you will import your student data from your Student Management System. This can happen in a number of different ways. Click on your school name (bottom left) and then on “Import / Export” to see the import options available. It may be a list similar to this.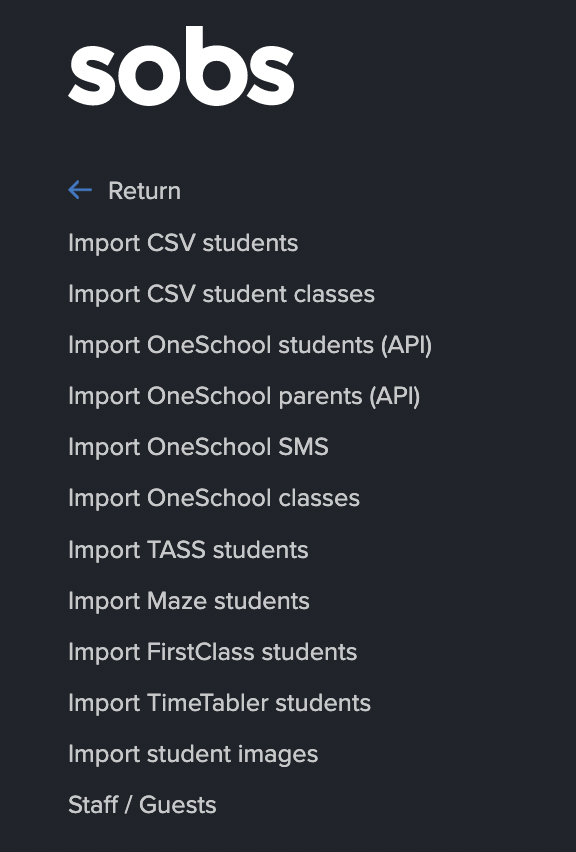
Click on the import option will display more details about the import option and the process.
NOTE: There are also options for SIF and LISS imports available depending on the Student Management System your school is using.
Checking in a student to your class
Click on the “Roll marking” menu option should always take you back to the list of classes you are connected to.

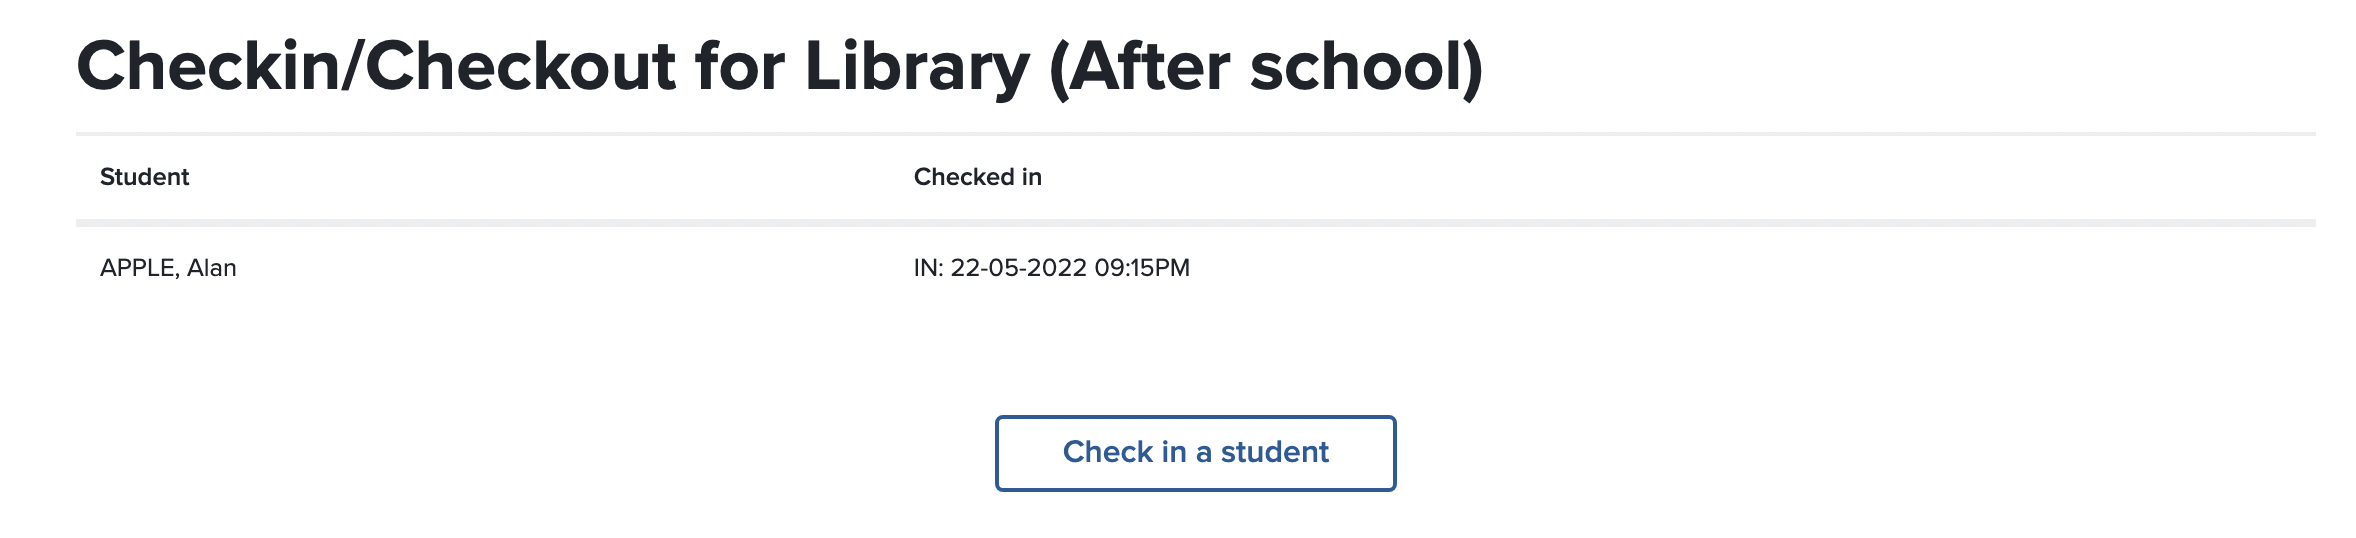
When you see this list click on the class (just on the row) to select the Voluntary class we setup earlier. This will select the class and show you a current list of students. Normally, the first time in there won’t be any students listed, and it will look like this:

Click the “Check in a student” button.

You can enter a student ID number, or use a scanner to scan their ID card. This option should work with the Student Management System identifying number, or the Education Department number. If a student is identified they will be automatically checked in.
Alternatively, use the “Select from a class” to select the students PC/Form class, this will populate a list of students, and then selecting the student will check them in.
I’m going to scan a student number “111”.

This is the first time I have checked in this student, and they don’t have any PIN numbers stored in the application. In order to be checked out later I will need a PIN number, typically supplied by the parent or guardian. Click the “Add a new PIN number” button to do just this.
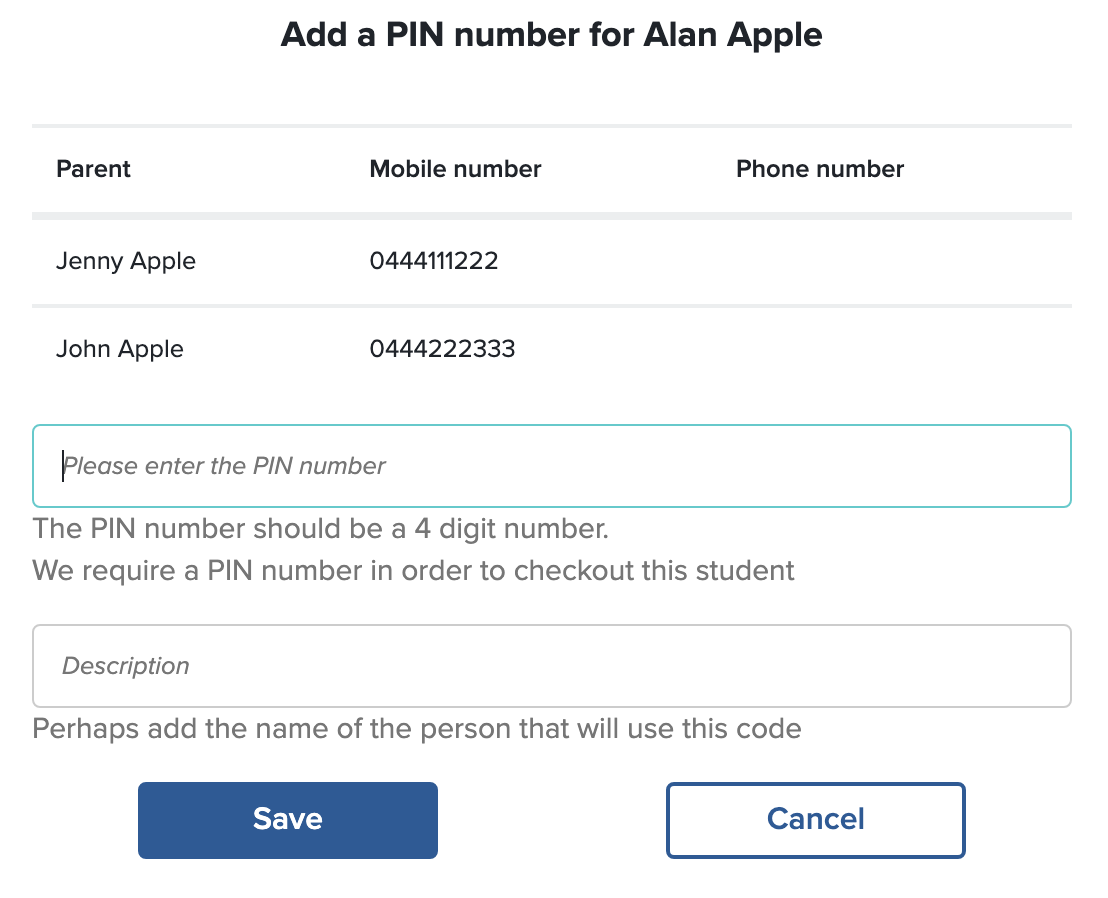
In this dialog we list any parent numbers so that you might call them to determine the PIN number to use. Once a PIN number is entered into the application it will be saved until it is either changed or removed. If there are students registering to use this facility, you can collect the PIN number details from the parent with the registration, and enter them with the student details. (See the last section of this article).
Once a PIN number and description have been entered we will then see the list of checked in students.
Checking out a student from your class
From the list of displayed students, simply click on the row of the student you intend to check out. You will be prompted to enter the PIN number – you can have the parent or guardian enter this number.
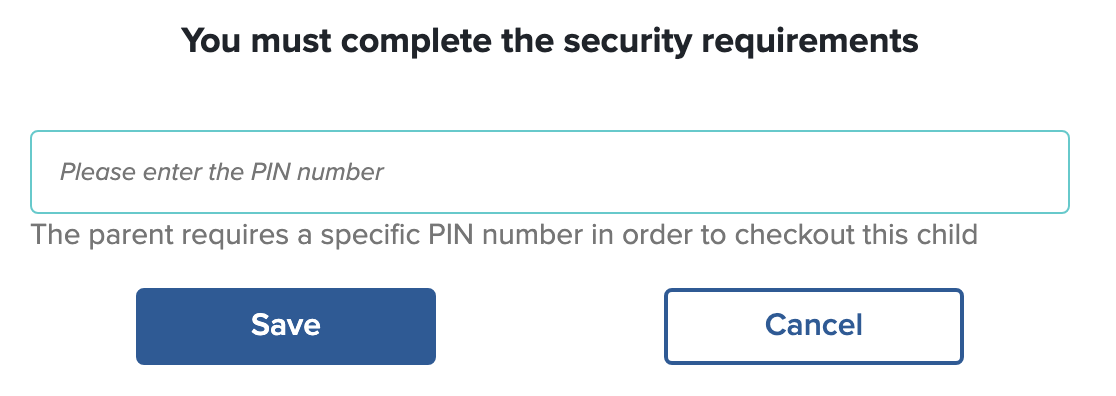
If the PIN number is invalid an error message will be displayed and we return to the list of students.
If the PIN number is valid the description entered with the PIN will be displayed, this may well be the parent or guardian’s name. The student will be checked out of the class and the time recorded.
You can view the history of students that have been checked out today – simply click the “Show history” button.
Loading PIN numbers for parents and guardians
From the left hand menu, click the “Student details” entry. This will show a list of student details that have previously been loaded (if they have already been loaded, we will assume they are for this article). You can use the “Search” bar to locate students by name.

When you have located the student, use the right hand menu to select “Manage PIN numbers”.

Here we can see the PIN number and the parent or guardian that might use this number.
You can add multiple PIN numbers, for use by each parent or guardian. Use the right hand menu to add, edit and delete each entry.