Feb 9, 2024
The enrolment form
The first place to start is to configure your enrolment form. The enrolment form is the series of questions that you want your prospective student to complete. It can be a simple PDF with ‘fill-in-the-blank’ fields, or you can make the entire form electronic where the application captures the answer to each individual question. The best option is to make the entire form electronic as we can then require responses and be more selective about which questions to prompt the parent with. If you would like help with this process you can send us a copy of your current enrolment form and we will help you set this up, or you can configure the form yourself.
- Click on your school name (bottom left) and then on “Form maintenance”
- This will take you to the form maintenance page. Here you will see a list of generic forms that you can copy and personalise for your school.
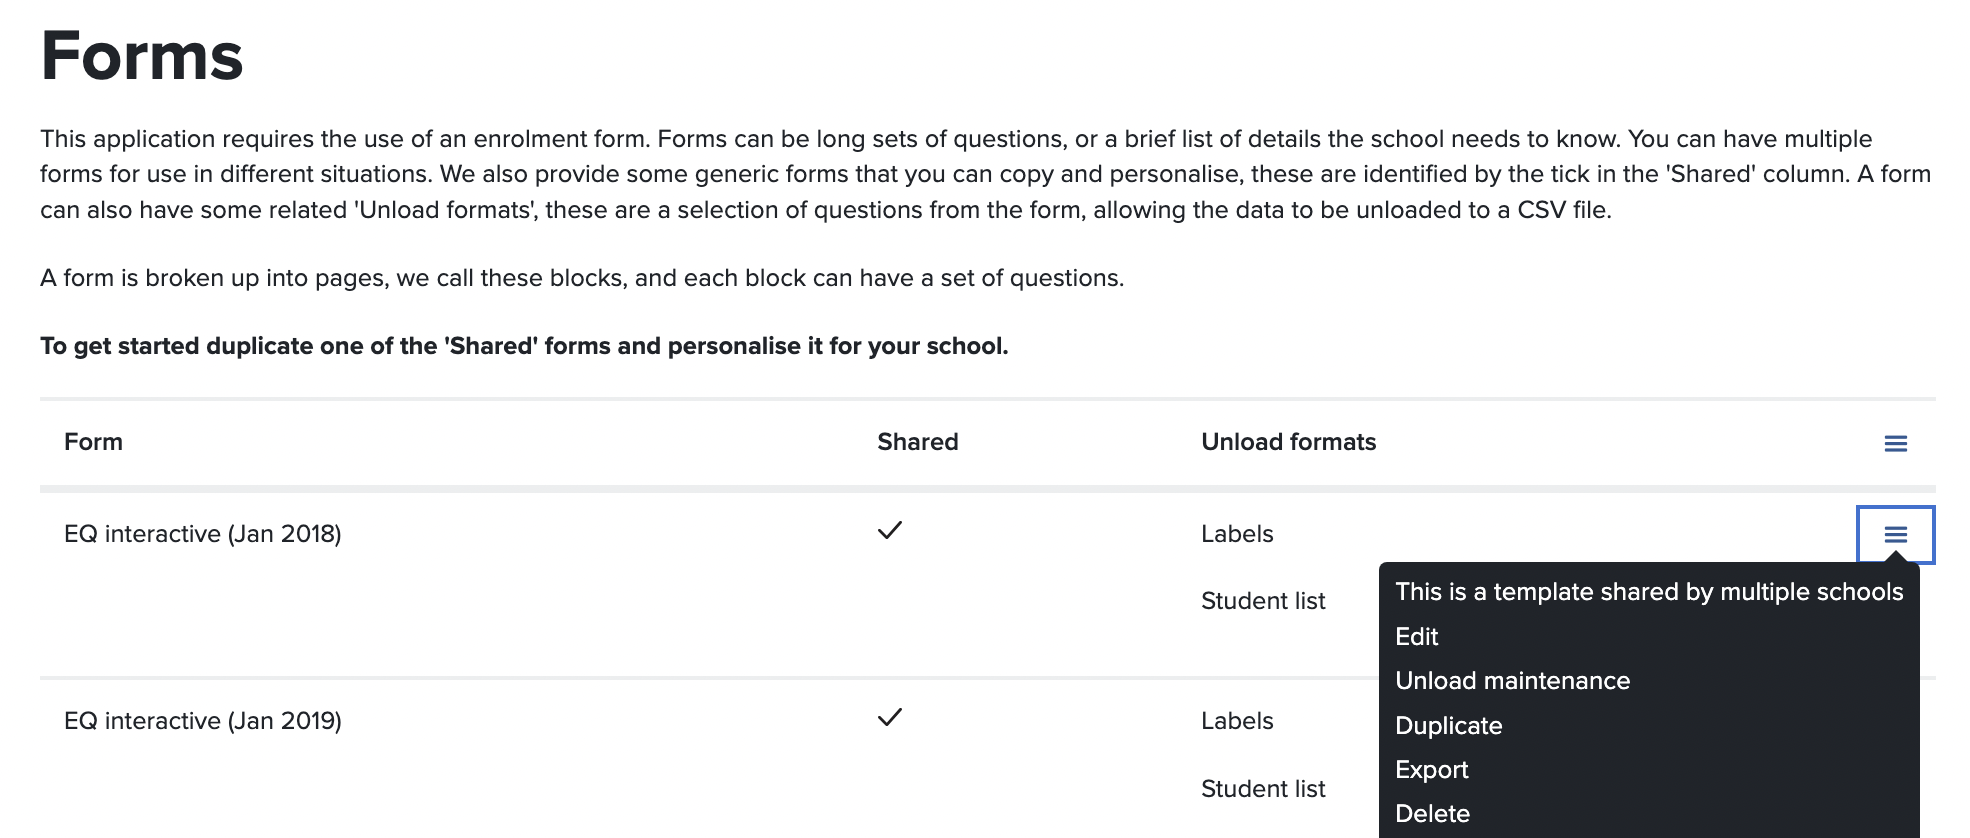
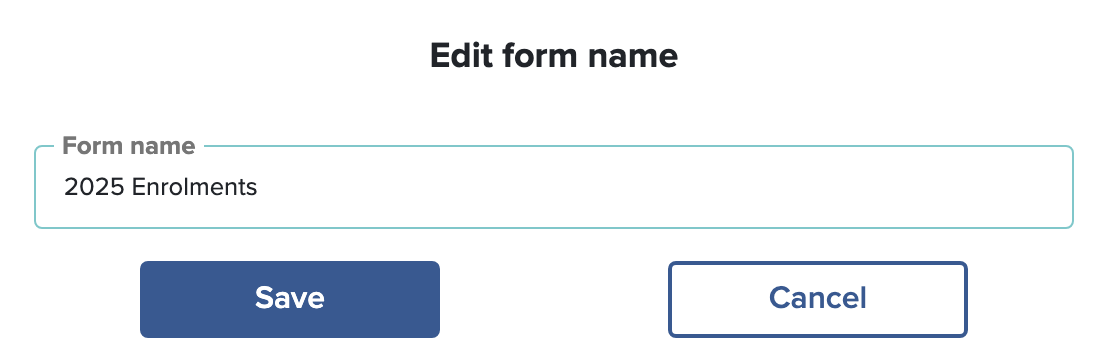
- Give the new form a name and click ‘Save’
- The list of forms is re-displayed. Throughout the application you will be clicking on different rows, simply hover over the row and it will show a light gray background – click your mouse to drill into this option. Do this now with the form you have just created.

- Each form is made up of a series of blocks. A block is simply a group of related questions that we display on a single page. Sometimes a group can be just a single question, sometimes it can be 10 or more questions. We are now looking at a list of “blocks” for the enrolment form we duplicated.

- To start let’s click on the block labelled “Student Demographic Details”. Here we have a list of the questions in this block. The number in the box (on the left) indicates order, and is also for re-ordering – you can drag and drop these numbers to re-order the questions in this block. The title is the prompt displayed to the parent. The ‘Reqd’ indicates a response to this question is required. The response column lists other options valid for a questions, in particular the type of response the application is looking for, such as a text field, a selection list, or check box.

- Use the menu to the right to edit the question settings, or you can duplicate or delete these questions.

- IMPORTANT: Once a parent application is entered using this form, you will no longer be able to edit, duplicate or delete these questions. So the process of configuring the form should be completed as much as possible before adding any parent enrolments. You should also test any changes you make thoroughly before allowing parents to begin entering enrolments. When testing, add your own test enrolment application, and check carefully through the form to ensure all of the options, required fields and pre-requisites are working. You will need to delete your test enrolment application in order to then make any modifications to the form.
Creating an enrolment year
- From the left hand menu click “Start a new year”. You will be prompted to enter a description, if you are setting up for enrolments be sure to use the correct year (often the year when the students will be starting school).
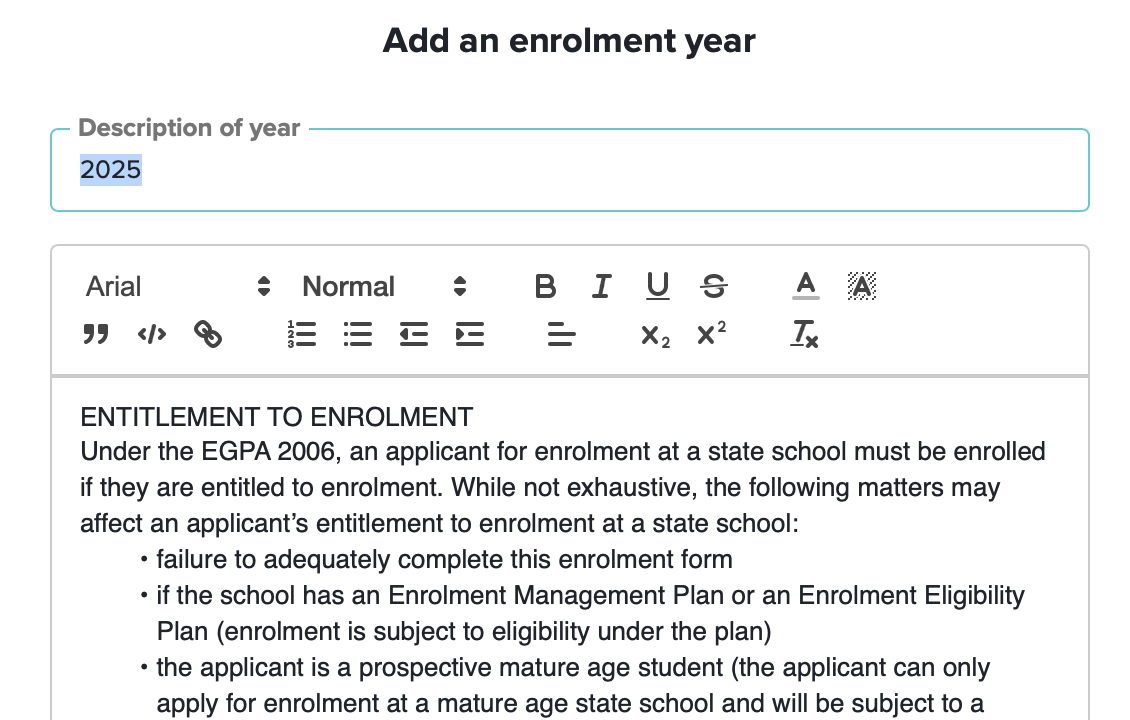
- Also when adding the new year, you can select which eligibility options you want to use. There are only four options, if you have any others please let us know.

- Also when adding the new year, you will be asked to specify when you are accepting applications. You can select a date range in this field. By default this will apply to all of the eligibility options, however you can modify these individually later.

- Also when adding the new year, you will want to select the enrolment form you have configured. If the interviews (with prospective students) are only with one staff member, then you can operate these within the Enrolment application. If the interviews (with prospective students) are undertaken by multiple staff members, then you will need a subscription to the Parent Booking application, configure a round of Enrolment interviews, and then select this round using the selection box.
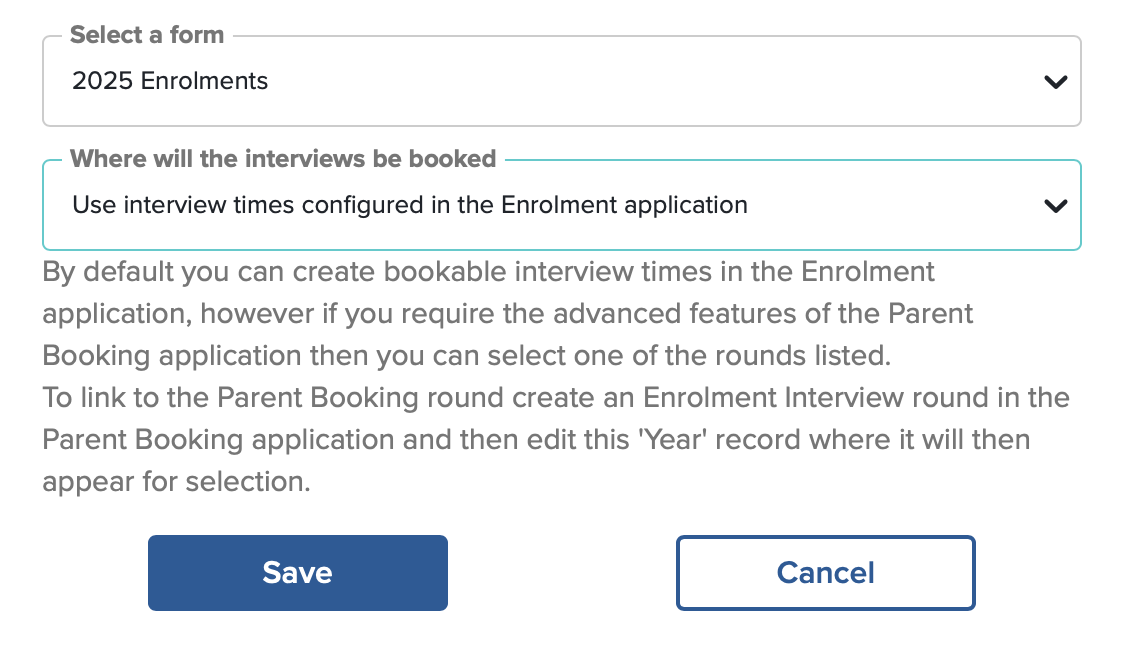
- Click “Save” and the enrolment round is ready. To modify these settings use the menu on the right. You can also view the eligibility records from this menu, and this is where you can modify the dates for different eligibility.

Testing your enrolment form
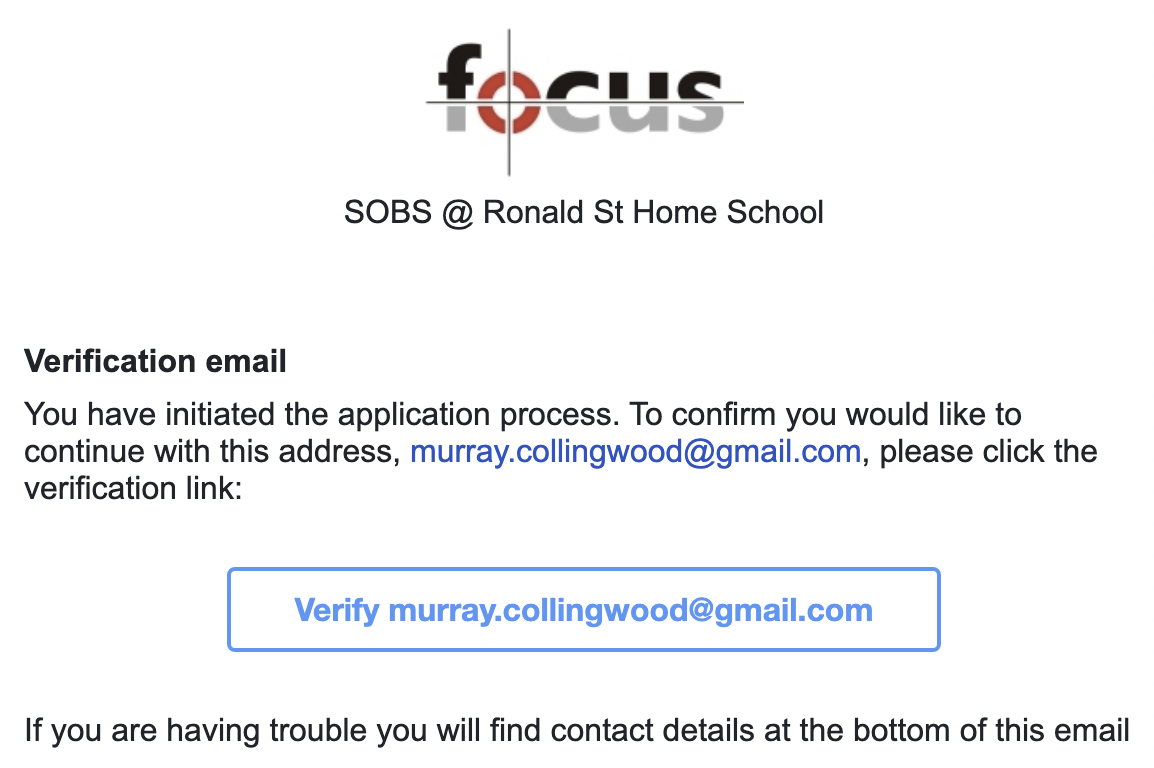
- Click on ‘Parent access’ in the top left menu. This will display the screenshot below. The URL (listed below the title, your URL will be different to the one pictured) is the one that you will list on your website or provide to prospective parents, the parents will then provide either an email address or a mobile number, and therefore verify their means of contact. The buttons listed below are a shortcut, bypassing the first screen that prompts for an email or mobile number. For email verification (and testing) click the button “Email parent verification” and enter your email address. The application will send you an email with a unique link that will access your enrolment applications.

- Below is a sample of the email the parent will receive. You can now click the button to access the application from a parent’s perspective. (You may like to run the parent’s perspective in a different browser to avoid any contention between your staff session and the parent session).
- The parent will be prompted with the following screen shot. You will recognise this information from the page where you created the enrolment year.
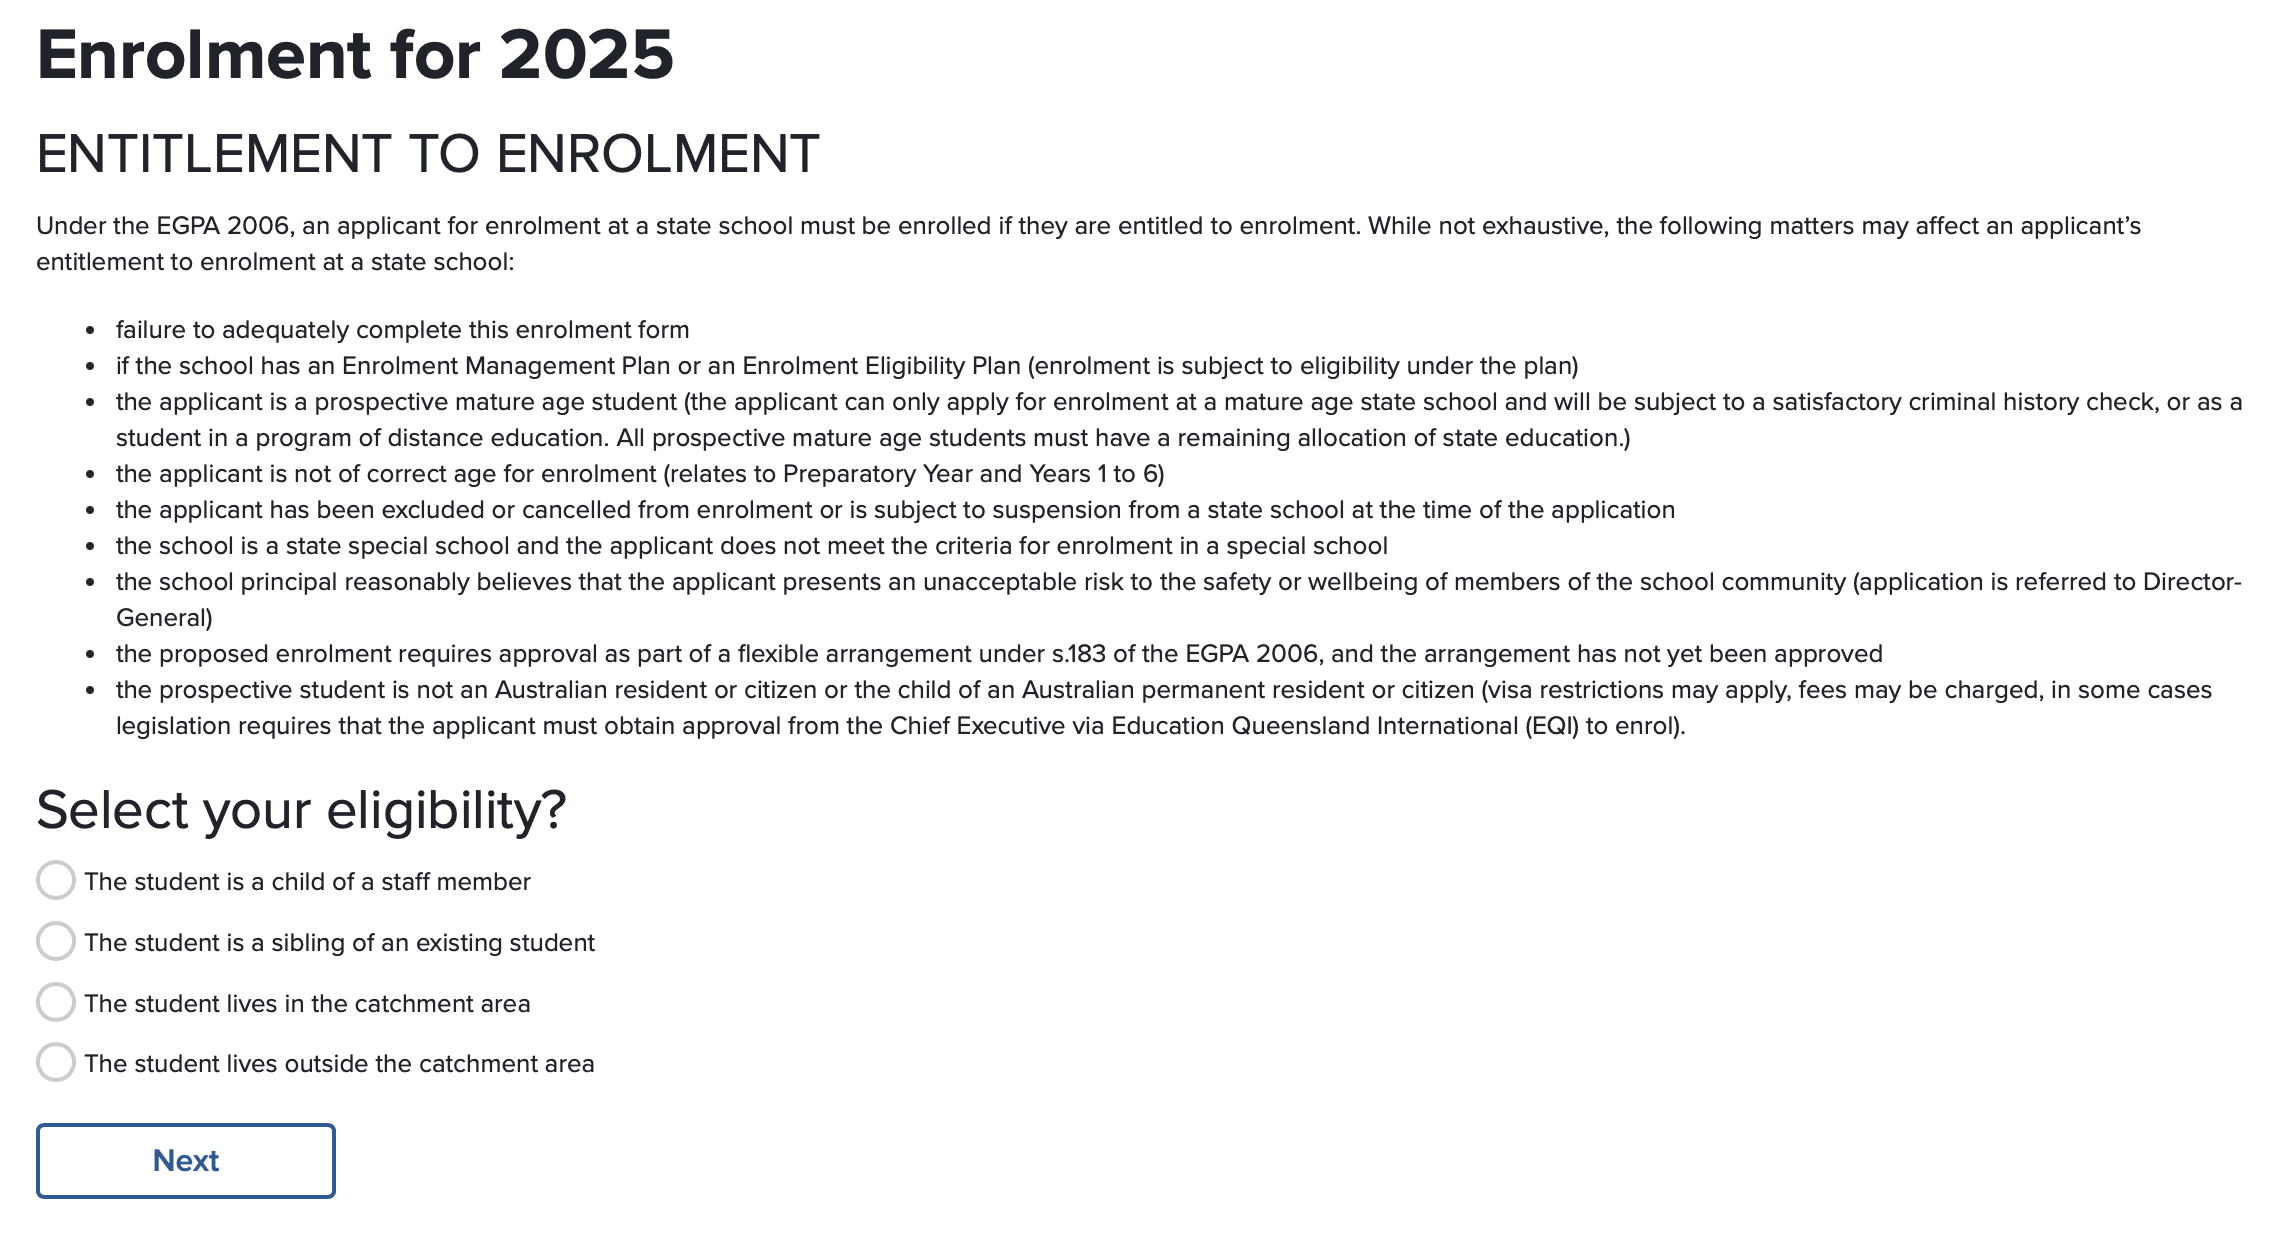
- The parent can then select the eligibility, click ‘Next’ and continue answering the questions in the enrolment form.
- When the questions are all answered, and the school is currently accepting applications, they will be able to submit their application.
The Process
Completing the application form is only the first step to enrolment.
- Parents self-register and complete an application for each student.
- Optionally, the parent can be limited to providing just the first few pages of the application before being prompted with a checkpoint. Staff will check to ensure the application is relevant before allowing the parent to continue with the application.
- If the eligibility is waitlisted (as in out-of-catchment applications) then the form can be completed prior to the opening date. When the date/time arrive parents will be able to submit their application and receive a position in the waitlist.
- If waitlisting is not required (other eligibilities) then the parent can submit the application.
- Staff can then review the submitted application, checking that the responses are valid. Any invalid responses can generate an exchange of messages between the staff member and the parent. Once the review is complete the staff member will indicate which documents are required for the interview, eg birth certificate, passport, etc. The staff member can then accept the application.
- The parent can then print and sign their application form, book an interview, and upload photographs of the documentation required.
- The parent will receive email prompts prior to the interview, reminding them to bring the original documents, the printed and signed application form, and any enrolment fee required.
- At the interview the application will prompt the staff member to collect the signed application form and sight the original documents.
- If the interview was successful the student is then approved to start school.
FAQ
Parents can use a computer or a smart phone to complete the entire application process.
There are a series of emails sent to the parent at each step in the process, these are all customisable in the App configuration.
The printed and signed application form can be filed / archived immediately, as all of the information remains online for 12 years.