Mar 27, 2024
At times it is useful to be able to specify certain staff members that have special management options for a particular resource or two. We call these peoples Resource Managers or RMs. There are a number of reasons you might want to add an RM to a resource, and we have listed these below. But firstly, how do you manage the Resource Managers for a resource.
Adding a Resource Manager
Ensure you are logged into the SOBS Resource Booking application. Click on your school name (bottom left) and then on Categories / Resources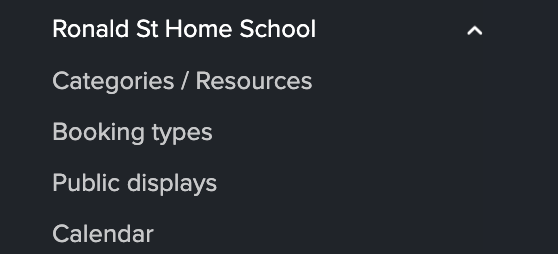
This will display a list of the existing Categories. 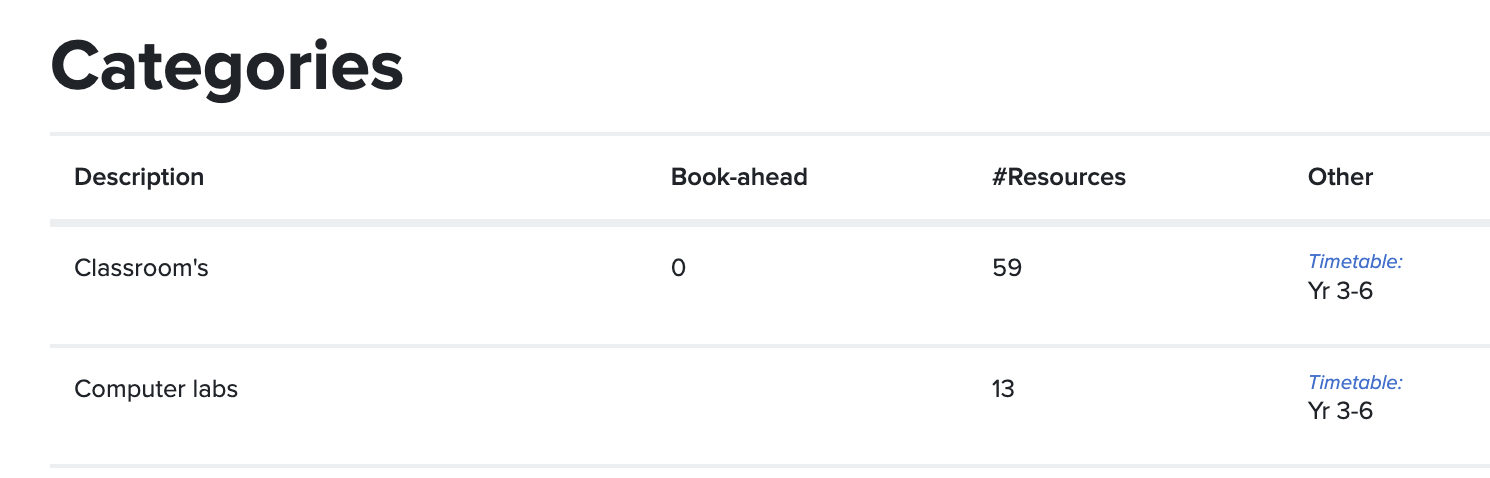
Click on the category row to display the resources in this category. We are going to click on the “Computer labs” row. We now have a list of resources which we can manage. In the menu on the right we can select the option “Configure managers”.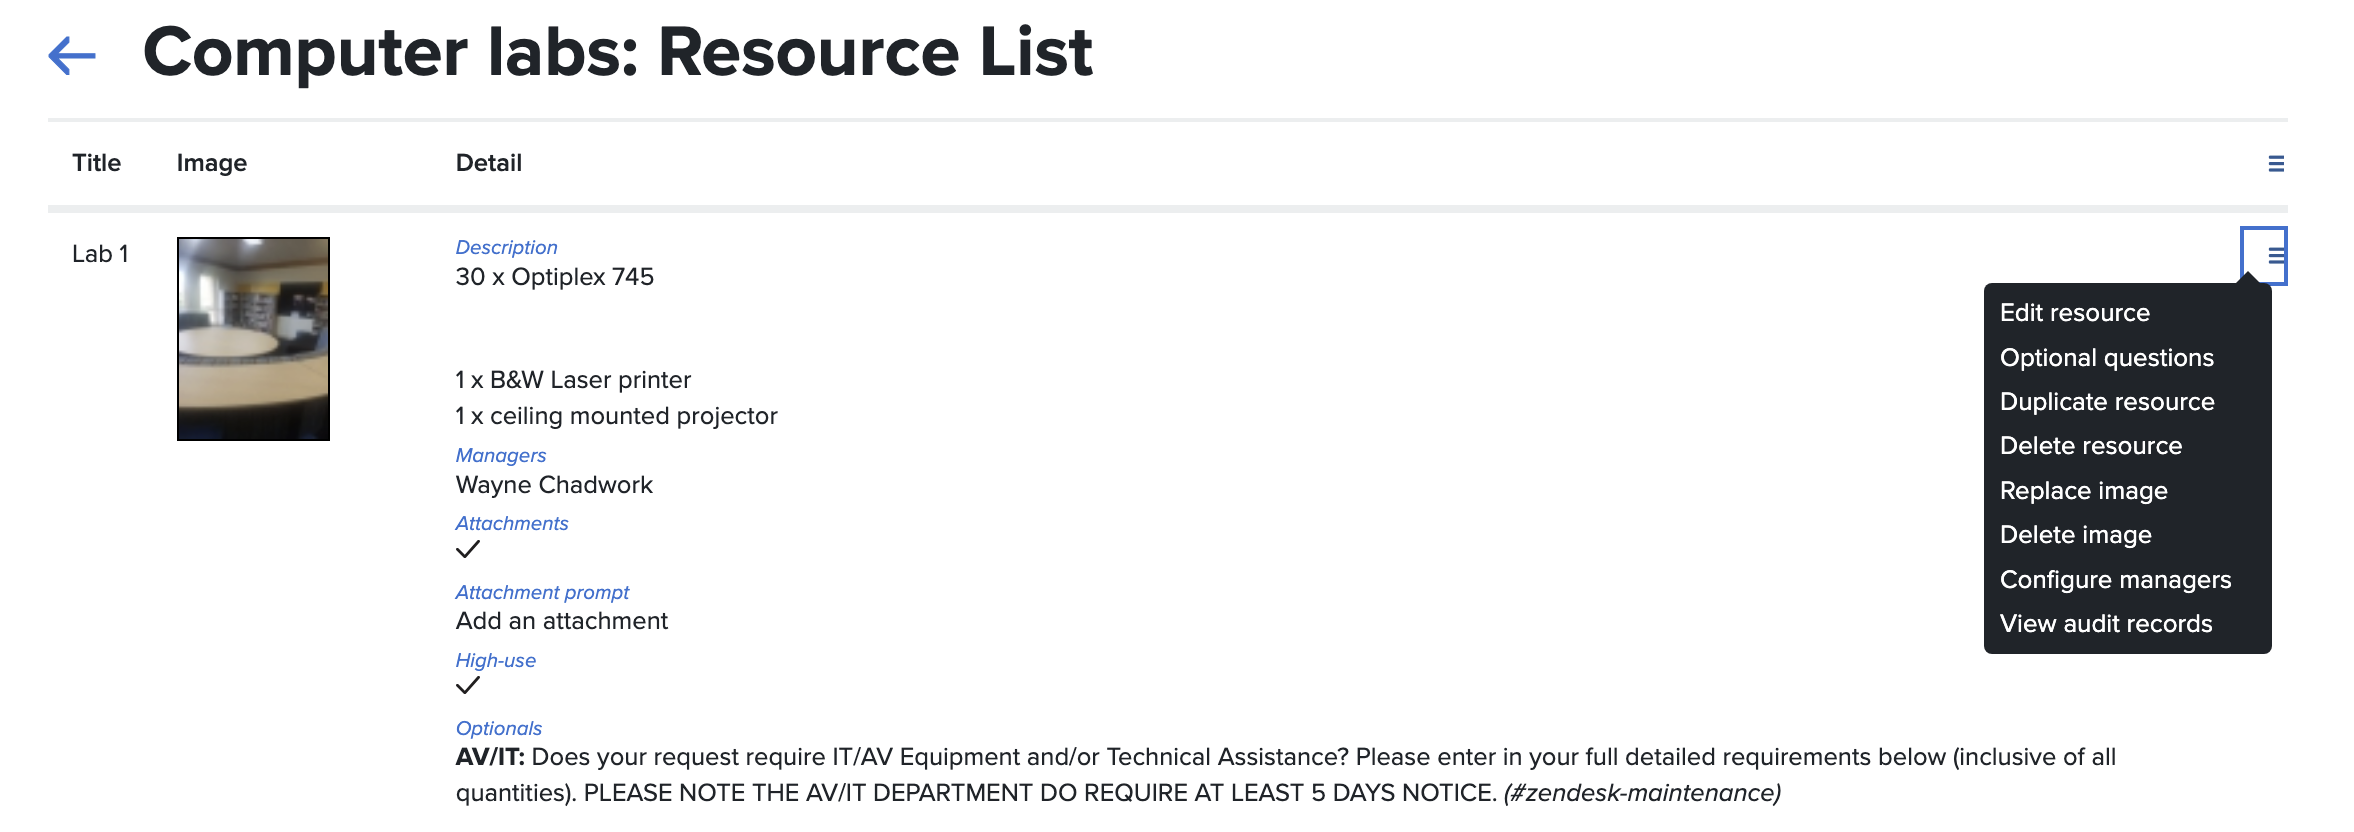
The dialog displayed allows us to add, remove and edit the RMs for this selected resource. Use the menu in the top right of the table to add a manager.

Approve Bookings
Where a resource requires approval, and there is a staff member who needs to be able to approve bookings, you can add them with this security.

Notification of Bookings
Where a staff member wants to be informed when a resource is booked, you can use the ‘Notification’ option for the RM.

Processing Issues and Returns
Where a staff member should have the security necessary to Issue and Return a resource (or items from a Resource Pool).

Modify the Resource record
The ability to change the title, description, and other elements of the resource record. This person will also be able to update the Optionals, Optional notifications, and replace the Resource image.

Modify the Resource security
The ability to add and remove RMs and adjust the security that and RM has for a resource.

View resource bookings on your personal calendar
SOBS supports a subscription URL for integration with a staff member’s personal calendar. For this option to work the staff member should already have the subscription URL added to their calendar and be seeing their own bookings on their calendar. The below process will include additional entries for the selected resources.
All RMs (with any security in this list) will be able to have the resource bookings appear on their personal calendar. NOTE: I believe you may be able to create an RM record without any security options checked, and this staff member will still have the ability to view the resource bookings on their personal calendar. Once the RM record is created in the Resource, then the RM staff member can click on their name (bottom left) and then on “Profile”. 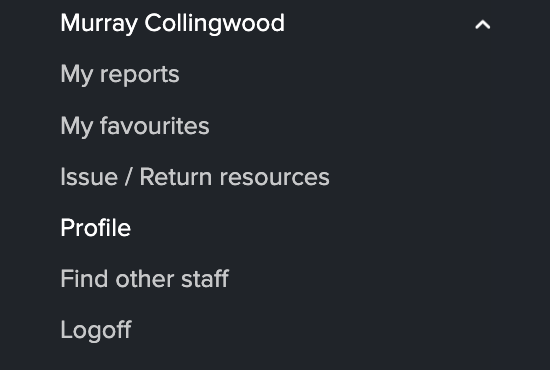
Scroll down the profile page toward the bottom, and the staff member should see a list of resources that they are an RM for. My list looks like this:

By clicking the checkbox the staff member is asking the application to return all of the bookings for the selected resource, along with their personal bookings, to the staff member’s personal calendar.