Jan 23, 2018
If your interviews are all in the same location then you don’t need to use the location option, however if your interviews are located in different areas around the school then locations will help parents find the room / teacher they need to meet with quickly and easily.
Loading your interview locations
- Login as a SOBS Administrator
- Click on your school name (bottom left) and then on “Staff / Guests”
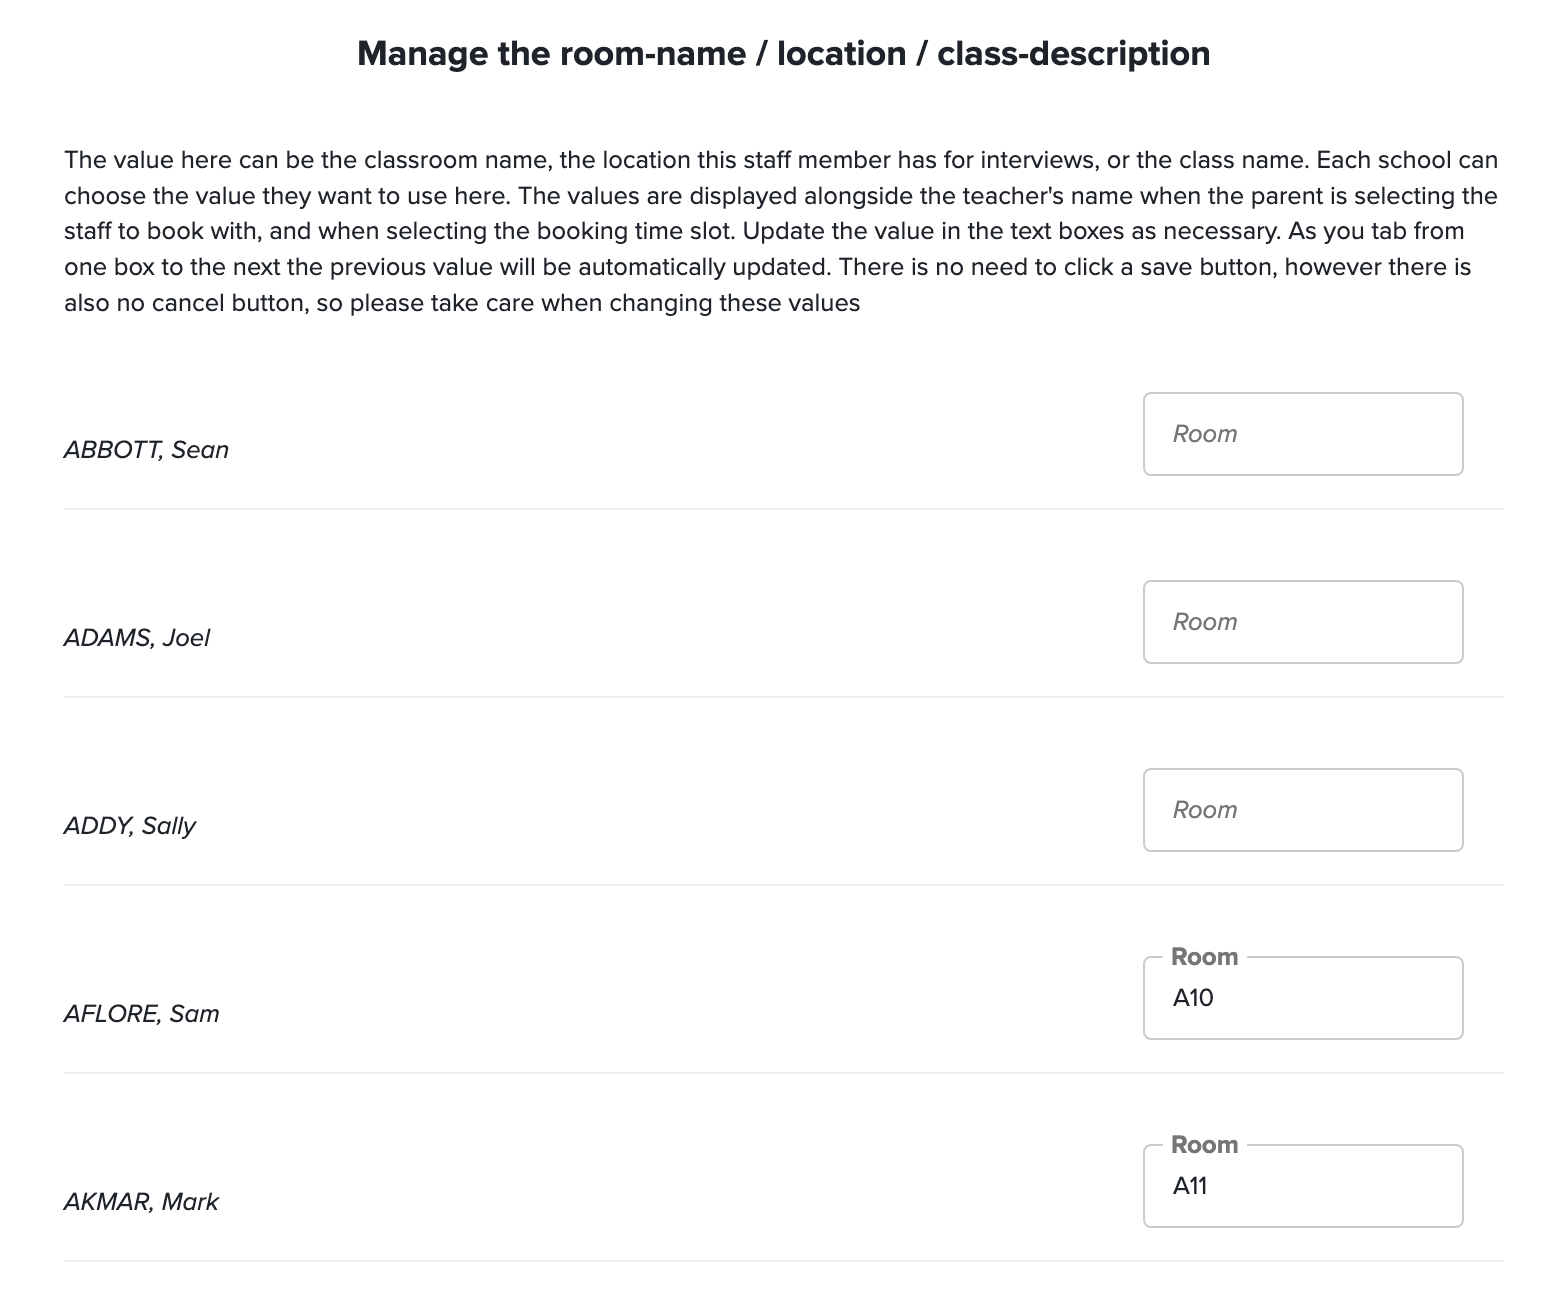
- In the action menu (top right of the table) select “(PT) Manage the room-name / location / class-description”

- Enter the location for each staff member into the dialog, pressing “Tab” after each entry. Each entry is updated as soon as you click the “Tab” button. Use the “Close” button to close the dialog.

These entries will appear after the teacher’s name when listing staff in the Parent Booking application, and on the parent’s booking report.
Adding a School map
When using locations you can also load a school map to help parents find their way around. The particular advantage is that parents may be able to make their bookings in such an order that they start in one area of the school and work their way across the campus.
- Login as a SOBS Administrator
- Click on your school name (bottom left) and then on “App configuration”
- Select “Parent Booking” from the top left menu.
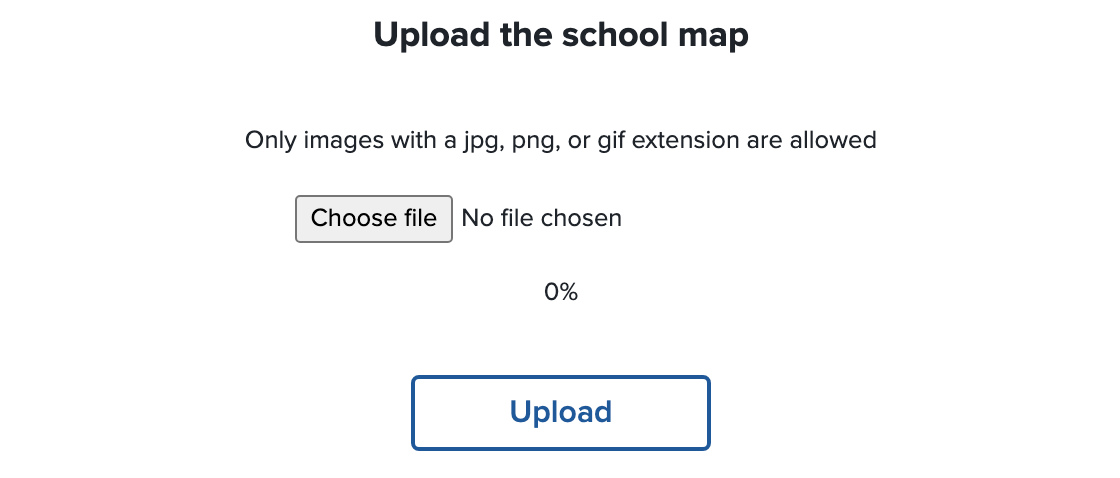
- Scroll down towards the bottom of this page and you should find a button “Load school map”

- Upload an image of the school map. This is only valid with a ‘jpg’, ‘png’ or ‘gif’ extension. The ideal image should be approximately 600 pixels wide with a minimum 72 DPI resolution.

- If there is already a map loaded you will have the options to “Replace” or “Remove” the current map.
Where the school map is included
The map is included when the parents print out their interview list and also when parents email themselves a list of their interviews.