Jan 23, 2018
At the beginning of 2016 we rolled out a new version of the School Notices application. This document will help you migrate from the previous version to the 2016 updated version.
The pre-2016 version grouped notices by year level.
The 2016 update is designed to provide the ability for individualised notices to every staff member and student. Students and staff will now receive all of the notices relevant to them, without exception. One of the key changes was the introduction of groups – we will describe these more fully in the following section.
Updating your system
Please read through the document below so you understand the changes before making this update.
The update is already installed, however it won’t become active until you turn it on. To do this:
- Login as a SOBS administrator
- Go to the School Settings page and the WAZ tab
- Click the ‘Edit’ button on the top right of the page
- Scroll to the bottom of the form and you will find a ‘2016 Group Update’
- Select the desired option and click the ‘Save’ button
- Logoff and Login again as a SOBS administrator (this last step will automatically convert your data to utilise the new structure)
Groups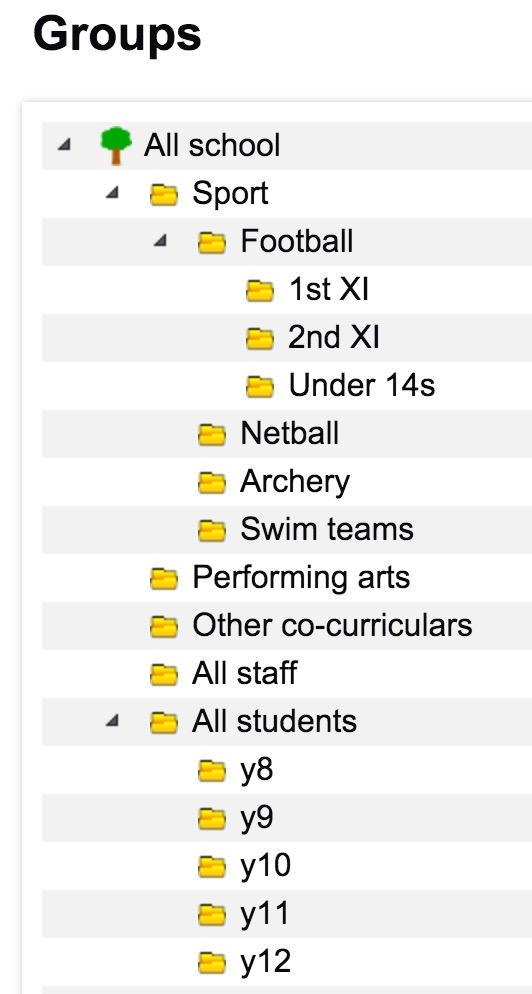
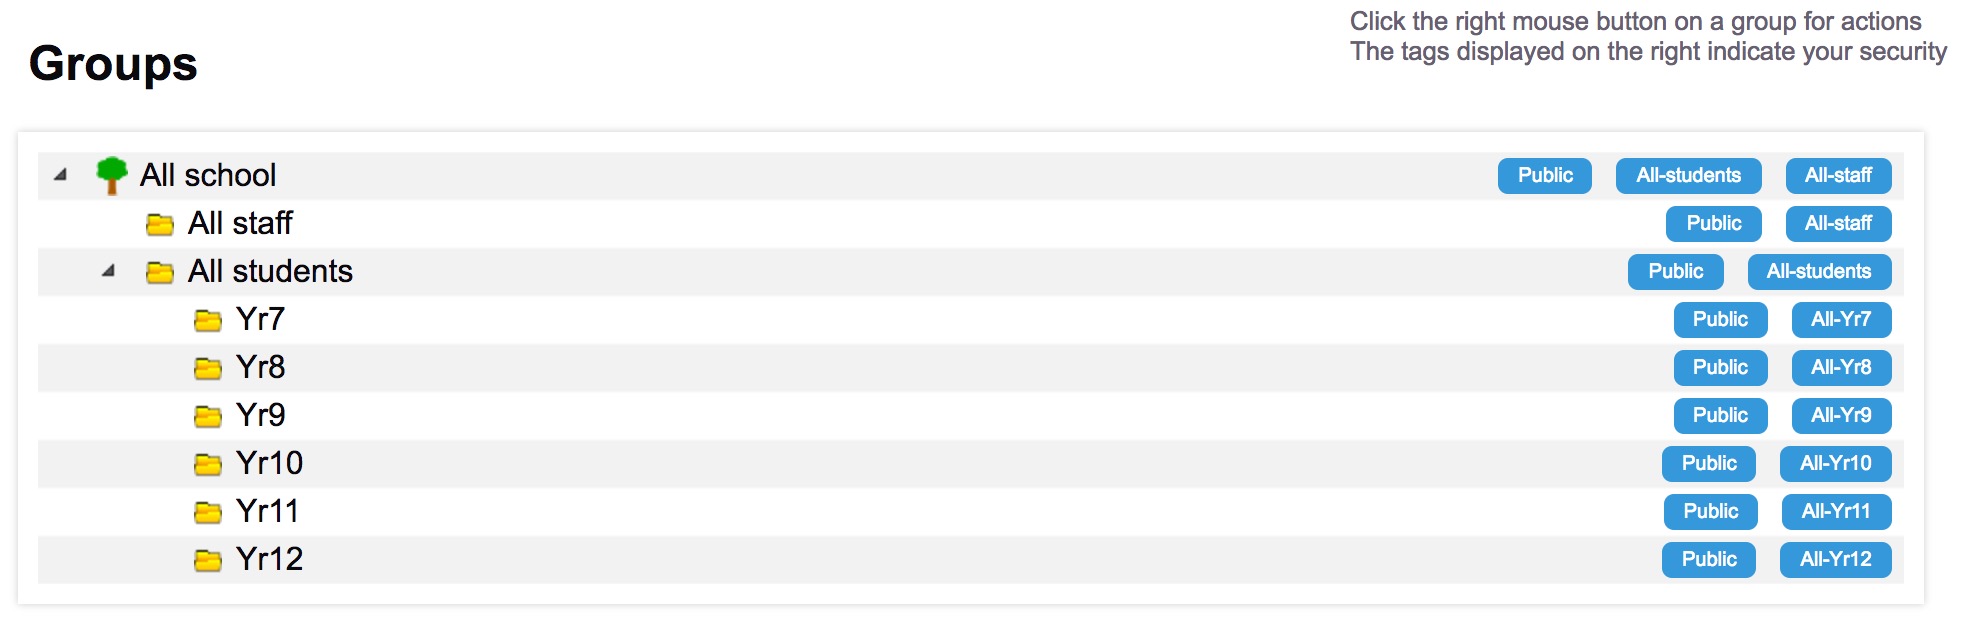
As part of the 2016 update we implemented a Group facility that provides the ability to configure an unlimited hierarchical tree of groups. The root of the group is “All school” – a new group that will contain notices for the entire school community. The system will automatically create a number of groups such as “All staff”, “All students”, and then a group for each year level.
With the standard groups automatically created the Sobs administrator can now begin creating sub-groups for the different areas of the school. You might begin with a sub-group of “All school” for “Sport”, “Performing arts”, “Other co-curriculars”. Beneath these groups you can create other groups, eg under Sport you might create a group for each sport offered at your school. You might be thinking this will become a nightmare to manage, however you can delegate responsibility for a group to another staff member, allowing them to create sub-groups as necessary. They in turn can delegate responsibility for sub-groups within their area to other staff.
When the groups are displayed various information items will appear on the far right of the display – these indicate where students or staff are automatically subscribed to a group.
To manage the settings for each group use the right-mouse button, this will display a menu allowing you to edit the group properties, add sub-groups, view or subscribe students or staff, and delete a group.
Subscribing Staff and Students
The default groups created generally have options that automatically subscribe the appropriate staff or students. Groups you define will likely need staff and students to be subscribed in order to receive notices destined for this group.
For the other groups you create you will want to specify the staff and students to include in your group. Right click on the group and select the “View / Subscribe Students” or “View / Subscribe Staff” options. The resulting dialog will display a list of staff or students currently subscribed along with an option to search for additional students or add staff.
For students enter a first name or surname (or partial name) in the search box, a list of matching students will be displayed – here you will be able to select students using the checkbox beside each name. Click ‘Save’ at the bottom of the page to return to the previous dialog.
For staff click the ‘Add staff’ button – this will list all staff. Click the checkbox beside each name to subscribe each staff member to this group.
For students and staff there will be a ‘Select all (Deselect all)’ checkbox at the top of the list, so you can easily select all of the staff or students listed.
Adding Notices
All of the above work is realised when staff now choose the ‘Add notice’ option. Where they previously selected from a list of year levels there are now options to select from the groups defined, from a list of classes, and from individual students.
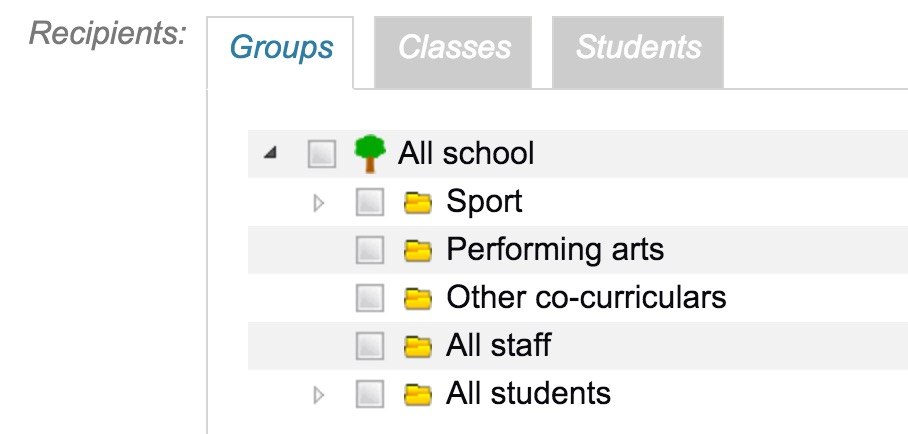
Use the small arrowheads to expand and collapse the various parts of the tree. Then use the checkboxes to select the groups for this notice.
You can select multiple groups for a notice, however if you choose a group like ‘All school’ there is no need to then select any other groups.
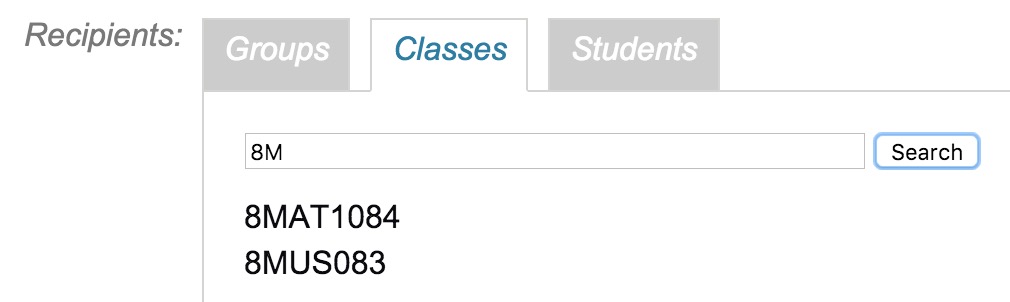
Click on the ‘Classes’ tab to enable selection by class. Notices destined for a class will automatically be sent to all students in the class, however it won’t necessarily get to the teacher of that class unless the teacher has subscribed to that class. (We don’t currently automatically subscribe staff to classes).
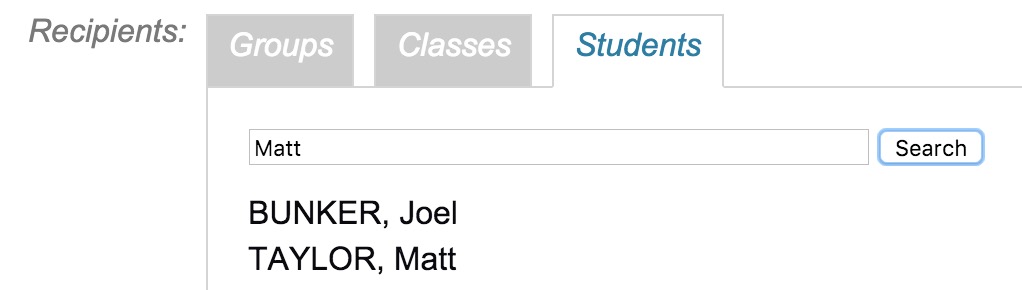
Click on the ‘Students’ tab to enable selection by student. Yes, this is an individual notice for a student. You can send the notice to multiple students, simply search and select each student. You can perform multiple searches, adding students each time.
Easing the transition
Moving away from Email
Email is not necessarily the most efficient means of distribution. As such we are working on a mobile phone application where staff and students can receive notifications about the notices availability, and at their convenience view an individualised selection of notices, anytime during the day. We are also considering some additional features that would be available to mobile users, for example, the ability to embed a reminder option into a notice, so the staff or student can simply click a button on the notice to load a reminder into their phone 5 or 10 minutes before an event.
The iPhone/iPad application is currently in beta testing. The Android version has no delivery schedule at this time.
Once the mobile application is released we will then enable staff and students to switch their school notices from email to a mobile phone notification.