Jan 23, 2018
A general introduction to using the Detention System
Core functionality
The purpose of the detention system is to enable staff to record details about the detention event. The recording of the event includes the ability to include a list of students. The student names can be entered manually, or selected from a search result of student names.
When entering a detention the application allows selection of a scheduled detention period that the student(s) should attend. Regular detention periods can be entered into the system, optionally with classifications attached.
At the detention period the attending staff member can mark the roll. At the end of the detention period any students who have failed to attend will be notified back to the staff member who recorded the detention.
At any stage the detention information can be exported and deleted from the detention system.
Scheduling detention periods
Click on your school name (bottom left and then select “Detention period schedule”.
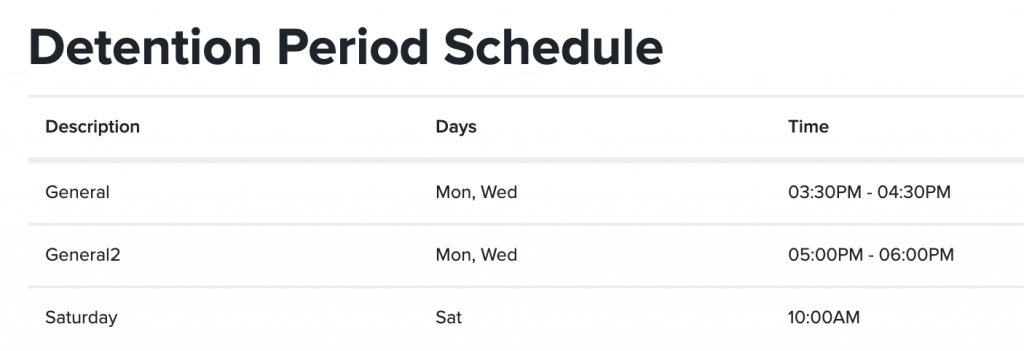
This will list any existing scheduled detention periods. To add a schedule click the ‘Add schedule’ button at the bottom of the list.
- Enter a description for this scheduled detention period. This could simply indicate a general detention period, or it may be for specific detention events, such as disruptive behaviour might be an after school detention while incorrect uniform may be a lunch time detention
- Check the days that this detention period is valid for
- Select the start and end times for the detention period
- Click ‘Save’ to record this scheduled detention period
When a staff member enters a detention event the application will automatically list scheduled detention periods, applying appropriate dates.
Loading students
The application requires student and parent data to be loaded. This enables staff to search for a student by first or last name (or partial names) and also enabled the system to send email or SMS messages to the parent and/or student.
To import your student data click on the school name (bottom left) and then on “Import / Export” to display all of the available options. There should be an option to import your student data in this list, click the appropriate option and follow the instructions that appear.
For testing purposes you can manually add a few students using the ‘Student details’ link in the menu.
Setting categories
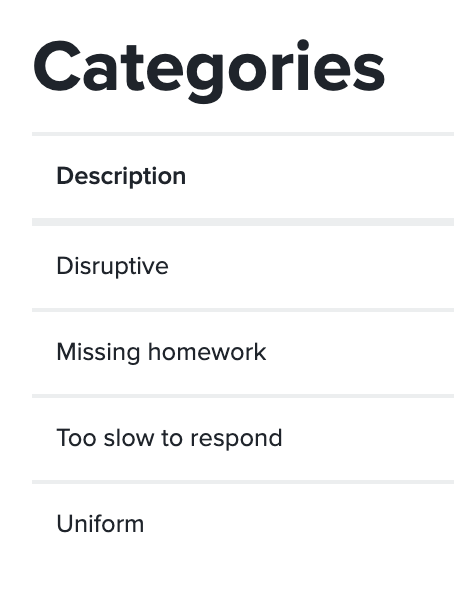
Each detention will be categorised. Use these broad categories to identify what the detention is for. This will enable you to run statistical reports at the end of the year.
Click on your school name (bottom left) and then “Incident categories” to configure the categories for your school.
Adding an incident
Click the “Add an incident” button, or select “Add an incident” from the menu.
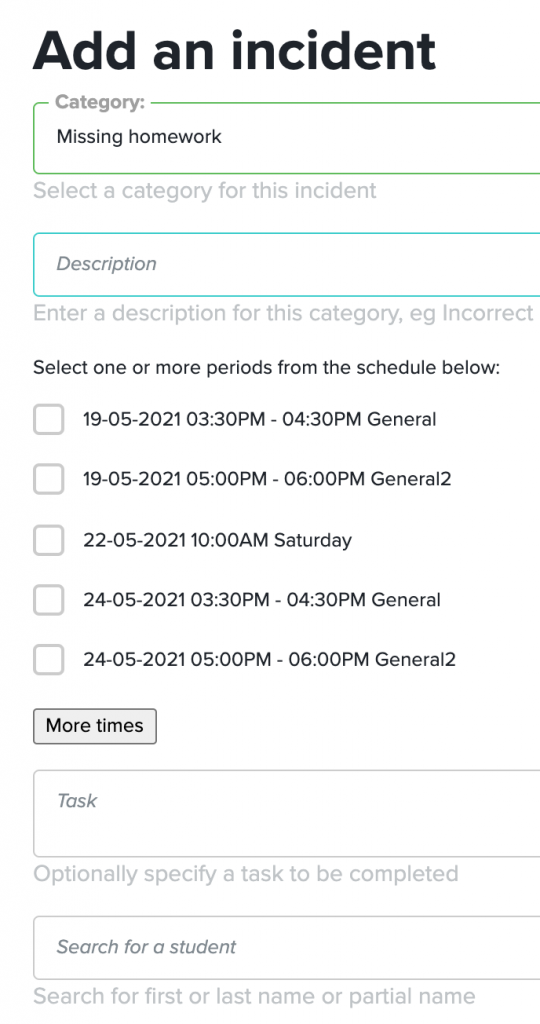
Select a category from the list available.
Add a description of the incident. The description may well be included in detail that is included in an email / SMS to the parent.
We will generate a list of up-coming scheduled detention periods. Check the detention periods that will apply to this incident. You can select multiple entries. Click the “More times” to generate additional dates/times.
Optionally you can specify a task to be undertaken at detention. Whether this is completing some unfinished homework, copy writing the school rules, or some other task.
The last field on the form allows you to search for and select one or more students. You can type in the student’s firstname, or part of their firstname, or their surname, or part of their surname. Do not type in both the first and last name for the student.
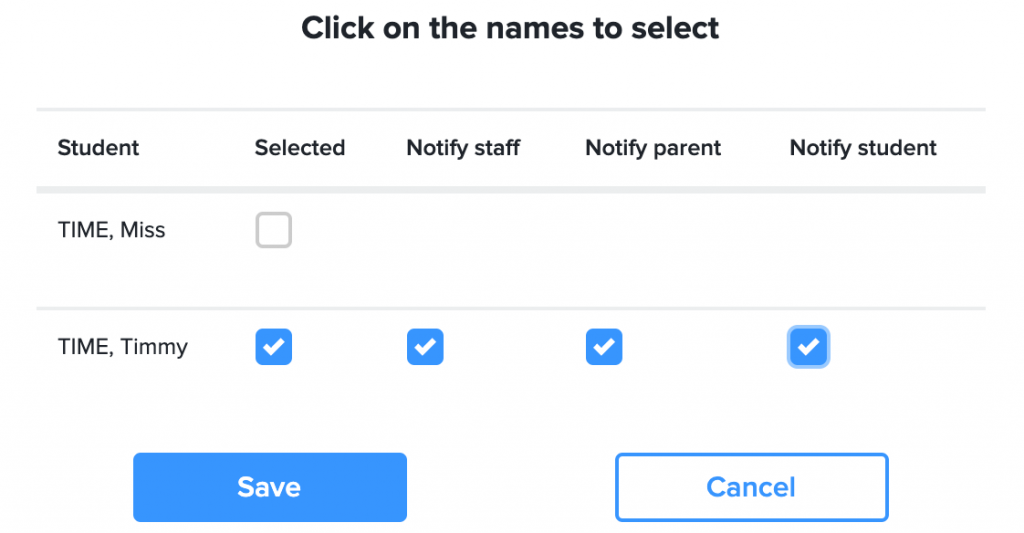
The system will display a list of students, click on the student name to select the student. By default the application will offer to send emails to the staff member, the parent and the student in regard to the detention incident. You can uncheck the email options before saving the selected student. Continue to search and add students as necessary.
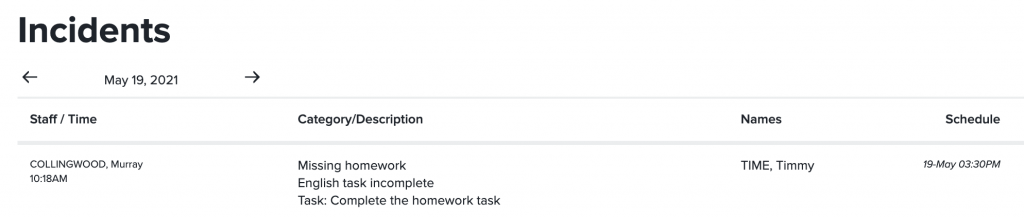
After an incident is added the application will list all current incidents for today. You can use the calendar controls (below the heading) to view incidents entered from previous dates.
Roll Marking
Click on “Roll marking” in the menu.
In the roll marking screen use the calendar control (below the heading) to move to the roll marking date. Note, this is not the incident date but the date the student is scheduled for a detention. If the detention is over multiple days then the student and incident will appear on each selected date.
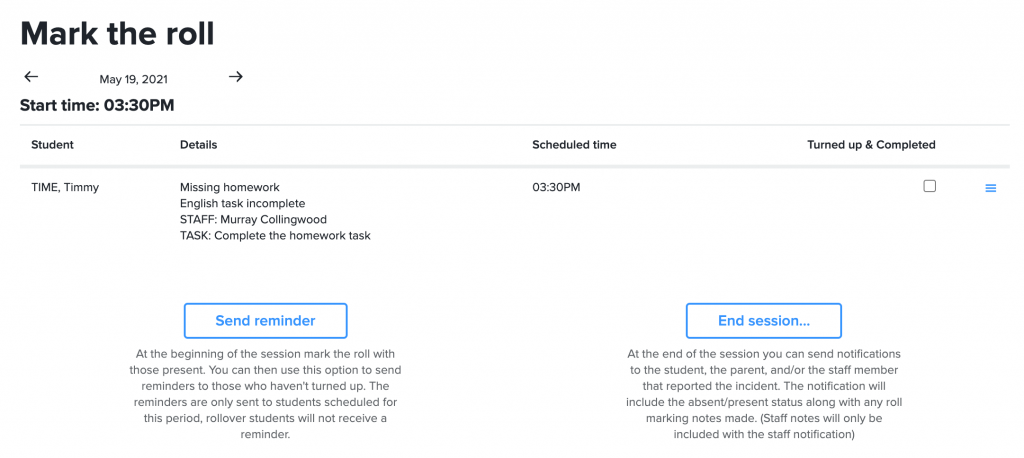
If the student turns up for the detention, click the “Turned up & Completed” checkbox.
If there are students who have not turned up, then click the “Send reminder” button at the bottom of the list. This will send an email to the student reminding them of where they should be.
At the conclusion of the detention period ensure all of the “Turned up & Completed” checkboxes are set correctly, then click the “End session…” button.
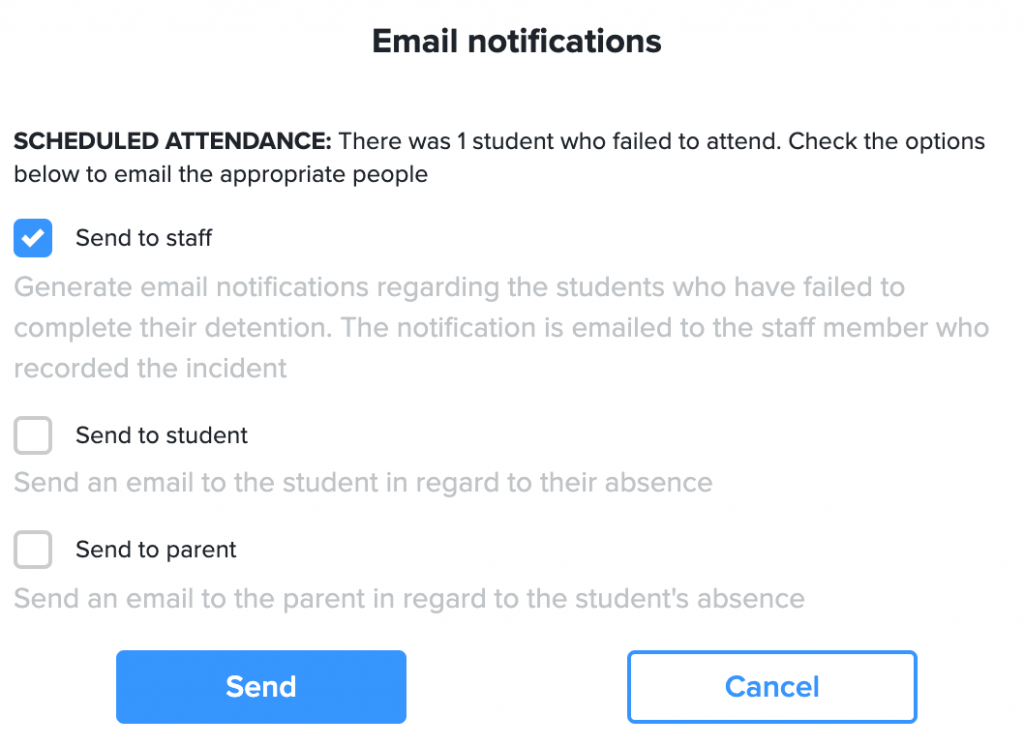
The dialog will summarise the number of students who attended. A confirmation email can be sent to the staff member who reported the incident. If there were students who failed to attend, then the student and parent can be sent emails regarding the absence.
Roll over detentions
Normally a student who fails to attend a detention will simply roll over to the next detention period (or the next detention period of the same type). This will be indicated in the roll marking as “Previously absent”.