Mar 29, 2019
We begin with some considerations in regard to the resources you are wanting to manage within SOBS. You probably have a good idea of what needs to be managed so let’s start with those resources.
Firstly we want to group these resources into categories. We suggest using categories that define resources with similar attributes. For example, you might create categories like: Computer Labs, AV Rooms, Library spaces, Meeting rooms, AV equipment, and/or Vehicles.
When choosing names for the categories and resources try not to be too verbose. Keeping them short will work better and make the displays more efficient. Generally it will be staff making the bookings, so use names that staff regularly use to refer to the resource.
You can add all of your rooms to SOBS, however many schools choose just to manage specific resources within the application. If you are considering adding lots of resources then we do have some suggestions about how to organise these.
It may be easier to manage if there were no more than 20 categories. Categories are listed down the left hand menu, having more than 20 may require staff to begin scrolling the page in order to see the entire list of categories. The application will be more efficient if there are less than 10 heavily used resources per category. When clicking on a category the calendar will display all bookings for the resources in the category, and this may require more scrolling if there are lots of bookings. It’s not a problem, we’re just trying to help improve your experience using SOBS.
Categories
In the bottom left of the screen you should find your school name, click this to reveal another menu. Click the “Categories / Resources” menu entry.

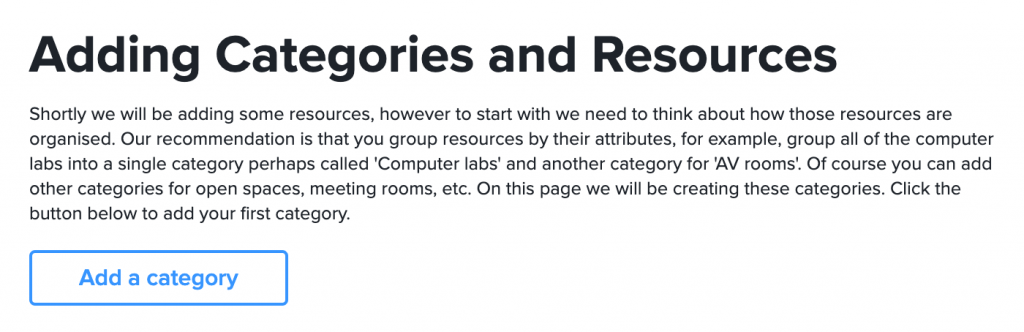
You will now see a list of existing categories. If this is your first time you will see the following page.
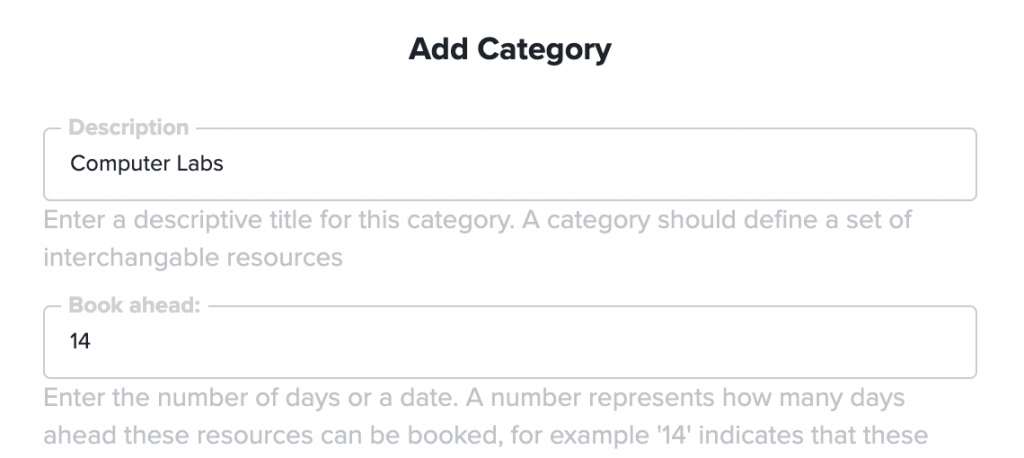
You will enter a description for this category. Try not to be too verbose, and don’t be specific about the resources. Remember this is a category.
The “Book ahead” value defines how many days ahead staff are able to book. A value of blank or 0 indicates there is no limit, staff will be able to book the resources in this category weeks, months or years into the future. Add a value here if you want to limit how far ahead staff can book these resources.
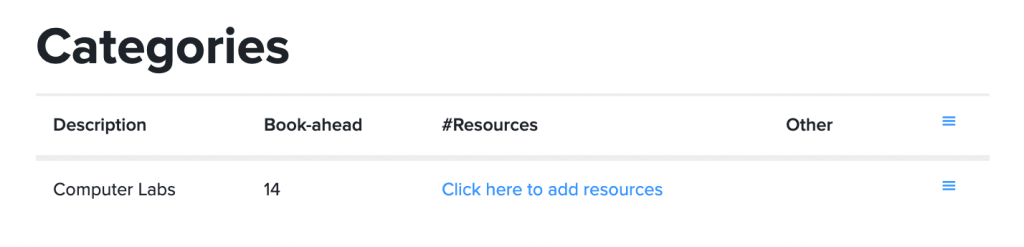
Use the action menu icon (on the far right) to edit a category
Use the top action menu (top right) to add more categories
Resources
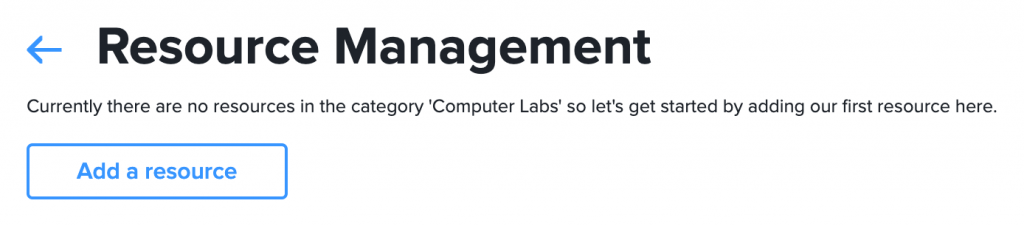
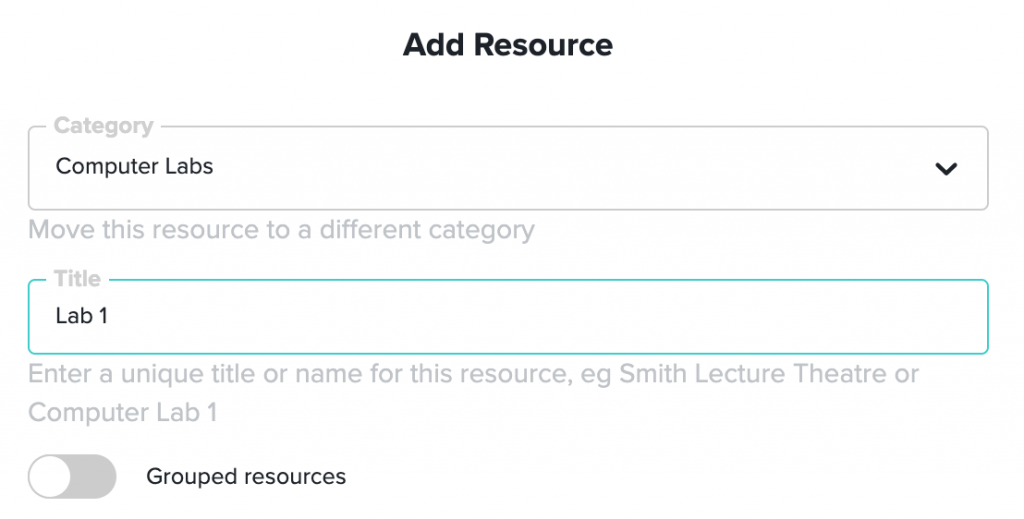
The resource title is the only required field on this form. If you are in a hurry just add the title and click “Save”.
Grouped resources: A grouped resource is a virtual entry that allows a staff member to book multiple individual resources in one booking. For example, you may define “Area 1”, “Area 2” and “Area 3” as teaching spaces in the library. In addition you might create a grouped resource called “All library” and attach the three areas to this grouped resource.
Description: Add details about the resource. For a computer lab mention what facilities are included and how many work stations.
Fixed location: Any room or space is a fixed location. Non-fixed resources such as AV equipment, class book sets, vehicles are not fixed and therefore can be barcoded.
Pool total: A pooled resource is one where you have lots of items the same, and staff will be booking a number of these. For example, you might have a pool of 60 laptops or tablets, where staff can book the number they need for their class. When staff make a booking for a pooled resource they will be prompted to enter the number they require. In this field enter the total number of items in the pool.
Restrictions: If you need to control access to a particular resource, then there is an option to configure restrictions. This can block specific staff from being able to see this resource, alternatively you can allow specific staff to see a resource, or you can allow guest users to see this resource. By default a resource is visible to all staff, but not to guests. Use the restrictions to change these default options.
Advance bookings: This defines how far in advance a staff member will need to book this resource. Typically it implies that some preparation is required. For example a hall that requires specific seating configurations or other arrangements may benefit from having an advance booking value.
Approvals: You can enable approvals for a particular resource, however you will also need to configure a Resource Manager (RM) to approve those requests. Without the RM to approve the request the booking will remain in a “pending” state.
High use: A resource that is considered high-use can be flagged here. Staff can also register for “High-use” alerts. If a booking for a “high-use” resource is deleted, the application will automatically send alerts to staff who have registered for “high-use” alerts.
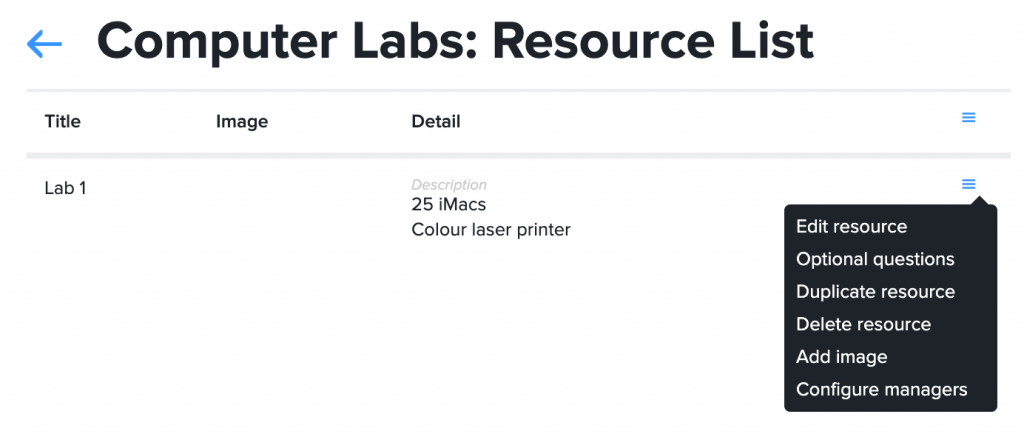
Use the action menu (on the right) to edit the resource settings. Here you can also duplicate a resource, delete a resource (if it has no current bookings), add an image or configure Resource Managers (RMs).
Optional questions: Depending on the resource being booked it may be necessary to ask additional questions of the staff member. For a hall you may want to ask about seating configuration, AV requirements, etc. For a vehicle booking you may want to ask for the reason, who the driver is, and for a funding code. Any questions you define in this section will be displayed to the staff member during the booking process – they will be able to indicate a yes/no response with a checkbox, and also add a text response.