Jul 23, 2019
There are multiple options for loading staff. The most common option is to import using a CSV file.
- Adding each staff record manually
- Importing a CSV list of staff details
- Staff records automatically created when staff login (LDAP and SAML)
- Staff self-register
- Importing a list from OneSchool
- Importing a list from Kamar
- Importing using LISS
- Importing using SIF (not yet available)
1. Adding each staff record manually
If you are using the Parent Booking application there is a “Quick add” function in the ‘Manage the Teacher Year Levels’ dialog. This allows you to add a staff member’s username, first and last name, and an email address.
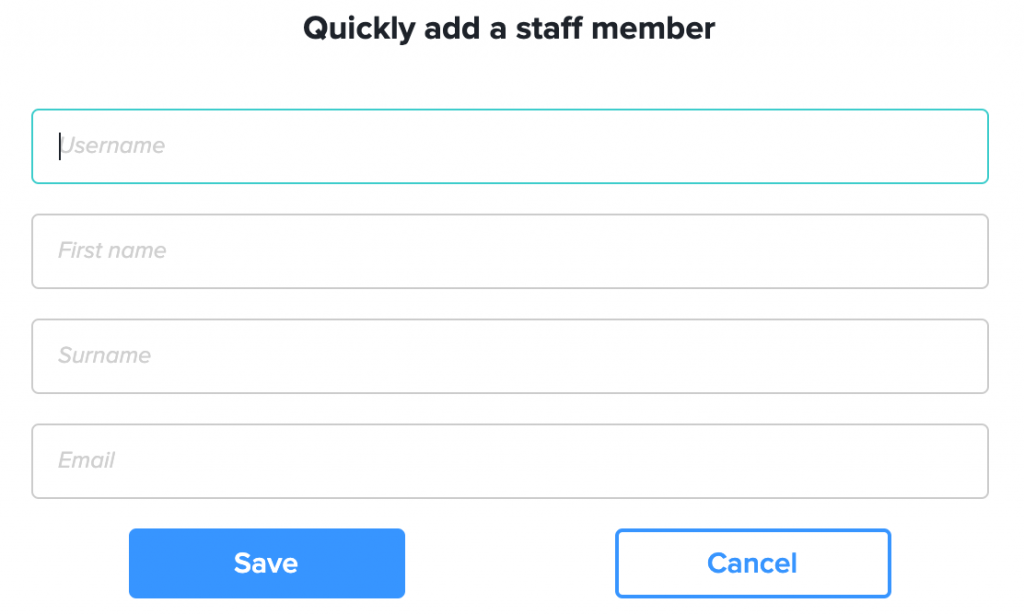
If you need to enter additional information then you will go to the staff list page. Click on your school name in the bottom left of the page, this will reveal an additional menu, select the “Staff / Guests” menu entry. (NOTE: If you click on your school name and nothing happens then you probably don’t have the security necessary to access this area – see your local SOBS Administrator).

From the staff list click the action menu (top right of the table) to reveal the menu below, and select “Add staff member”.

Add the details for a staff member, click “Save” and repeat this process for each staff member to be defined.
2. Importing a list of CSV staff details
Most schools probably have a list of staff in a spreadsheet, including the details: username, email address, first and last name. You can use this data to create a CSV which can be used to load this data to SOBS. A CSV (comma separated values) file is a simple text file, with one line for each row, and each value is separated from it’s neighbour by a comma. For example:
Username,Password,Email,Etc
apple,fruit,apple@abc.com,Granny Smith
mazda,henry,mazda@abc.com,Barney Jones
burg23,Tw8eys,burg23@abc.com,Carrie Carr
You will probably be managing this in your favourite spreadsheet package, with one row per staff and different values in each column. We will need specific values in each row, and these are specified on the Import page.
Go to the Staff list page. To locate this click on your school name (bottom left of your screen), this should reveal a secondary menu, click on the entry “Staff / Guests”. (NOTE: If you click on your school name and nothing happens you may not have the correct security for this action – please see your local SOBS Administrator).

When the Staff list page appears you will also have a new menu on the left of your screen. Click the “Import” menu entry.
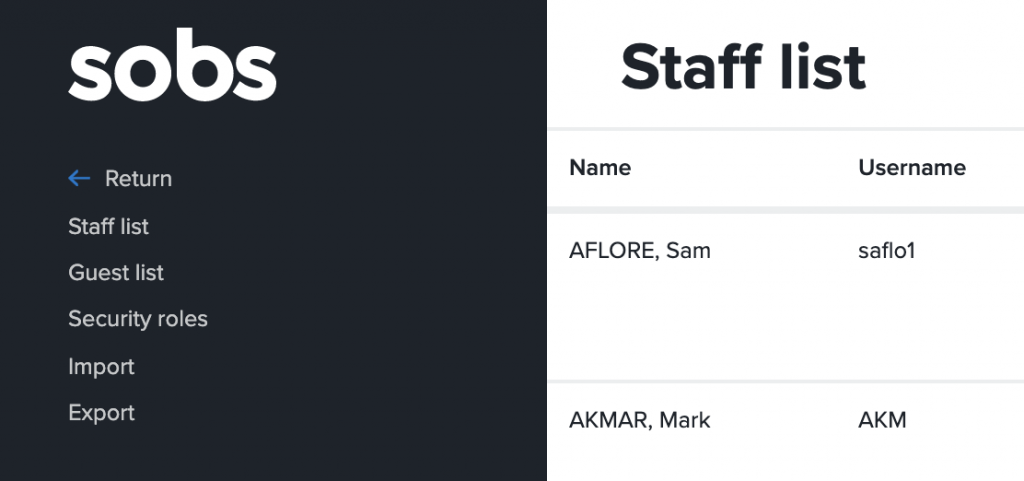
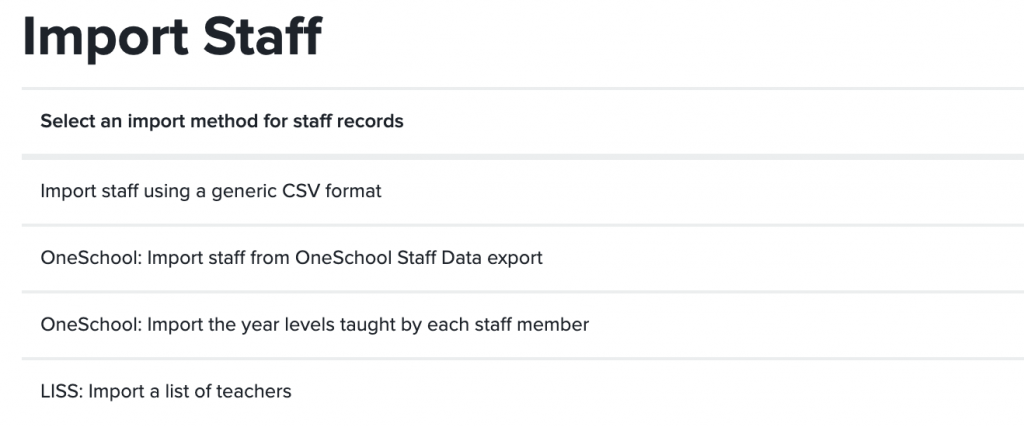
The available options for importing staff records will be displayed. Select the “Import staff using a generic CSV format” option from the list.
This will include two helpful blocks, the first describes the import process.

The second block describes the CSV file format.
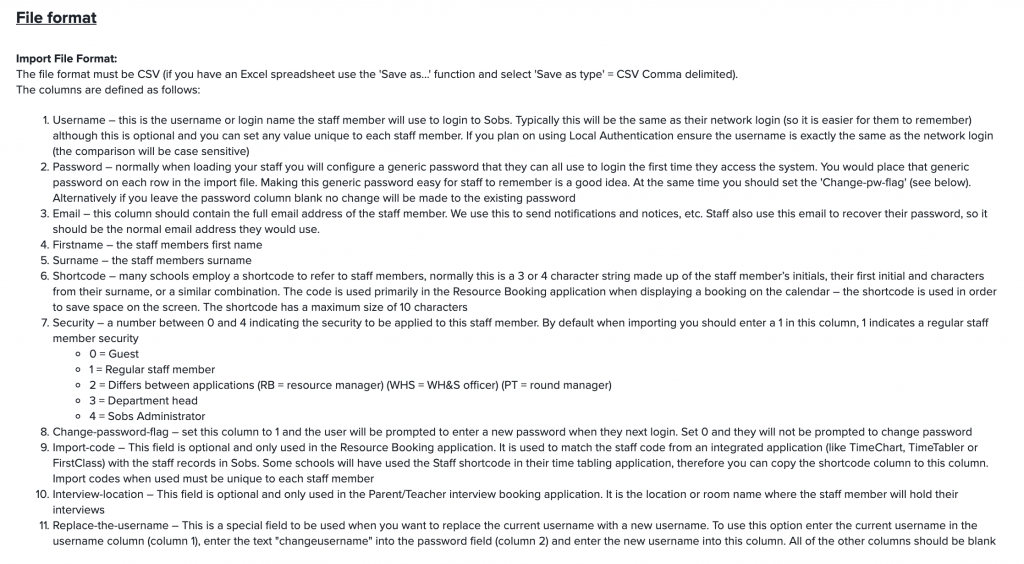
If you follow the instructions for the file format you should end up with a file that looks like the following:

When you want to save this file you will need to “Save as…” and select the CSV option. Back on your SOBS screen select the option to upload your CSV file – click the button “Ready to upload your file?”

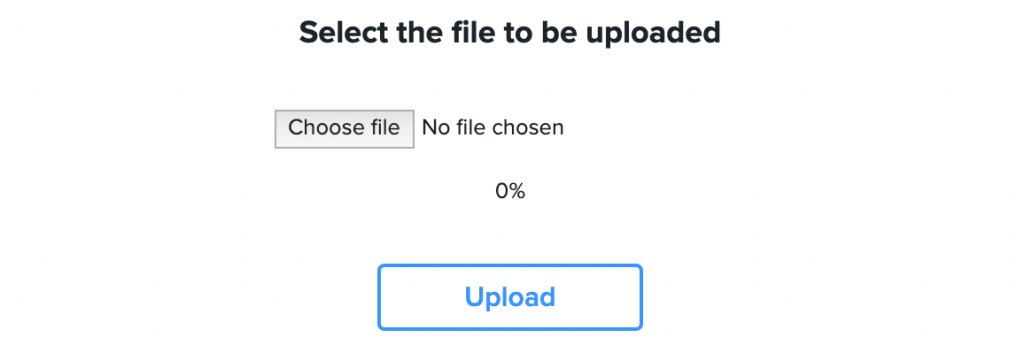
Select your file and click the “Upload” button. You will be prompted with some import options.

During the import we will, by default, look for matching usernames. If we find a matching username we will update the details on the staff record. This is useful if the staff member has changed their name or you are wanting to reset passwords for all staff.
The second option is only necessary if you are specifically changing the staff usernames. In this instance you would be supplying both the old username and the new username.
Click “Continue” to perform the first pass of the data.

NOTE: At this stage the data has not been imported, you are looking at a sample of the data from the file you have uploaded. We have checked this data against the existing staff list. If there are any problems they would be identified in the “Problems” column.
If this data appears to be correct (the values in each column look accurate) then click the “Continue loading X records” to save this data to the database. If the values are not correct then navigate away from this page using a menu option. The current staff list will not have been changed.

3. Staff records automatically created when staff login (LDAP and SAML)
If your school using LDAP or SAML to authenticate your SOBS users, then any new staff member can log into SOBS and will have a staff record automatically created for them.
4. Staff self-register
SOBS includes an option for staff to self register, however this is only valid if you are using regular username/password authentication.
Click on your school name in the bottom left of the screen, this will reveal an additional menu, select the “School Configuration” entry. (NOTE: If you click on your school name and nothing happens you probably do not have the security necessary for this action – please refer to your local SOBS Administrator).

From the menu on the left select the “Authentication” entry:

This will display the current authentication settings for your school. Click the “Edit” button to edit these details. Check the option for “Easy registration”, set an “Easy registration expiry date” – this is the date that our staff self-registration process will expire. This is required and should only allow self-registration for a week or two, enough time for staff to respond to this opportunity. You can also enter a password.
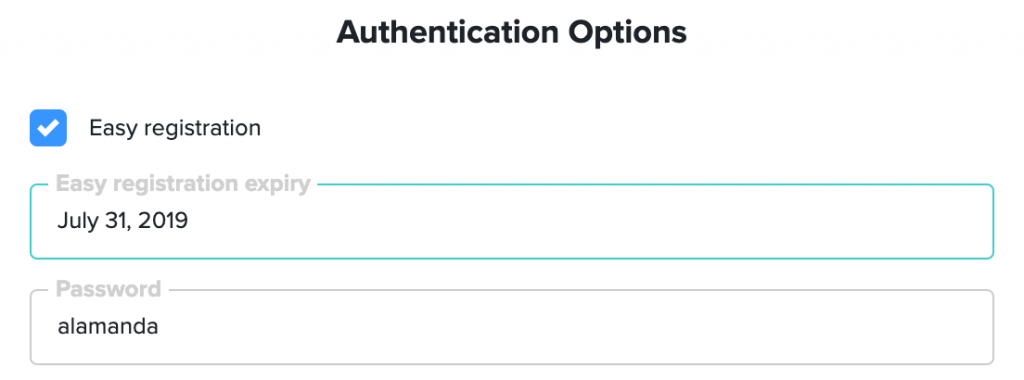
“Save” these options. The authentication detail displayed will now include a link. Clicking the link will send you an email that you can then forward to your school staff. Anybody with this email will be able to self-register as a staff member, so be sure the email is not forwarded to people outside of the school.
5. Importing a list from OneSchool
Click on your school name in the bottom left, and then on “Staff / Guests”

When the staff list appears you will have a new menu on the left of the page, click the “Import” option:

A list of import options will be displayed – click the “OneSchool: Import staff from OneSchool Staff Data export”

The following page will be displayed:

With this import process we will be matching the imported records using the staff member’s MISID with an existing staff record in SOBS. If we find a match we will automatically update any details that may have changed. If there is no matching record we will create a new staff record for this user.
For new staff records being created we will be generating a random password on their account. If you check the first checkbox we will also send an email to this staff member with their login details.
The instructions on screen will assist you in extracting this data from OneSchool. Note, if you do not have the option mentioned you may require additional security within OneSchool – please contact the OneSchool help staff.
6. Importing a list from Kamar
We utilise the “Directory services” facility available in Kamar. When configured Kamar will automatically send the information to SOBS, including staff records and timetable data. You will need to configure both Kamar and SOBS in order for this process to work.
KAMAR: You should be prompted for two pieces of information when configuring the Directory services to send data to SOBS:
a) The URL: https://sobs.com.au/ui/imp/kamar-2018-json.php
b) The format: JSON (not XML)
SOBS: We need to select the Kamar integration, enter the MOE number and an email address for notifications. Click on your school name in the bottom left of the screen. Then select “App configuration” from the menu.

Select the “Resource Booking” application from the new menu that is now on the left of the screen.

You will now see settings that are specifically related to the Resource Booking application. Click the “Edit” button to edit these details. Scroll down to the “Integrated product” selection box and fill in these fields.
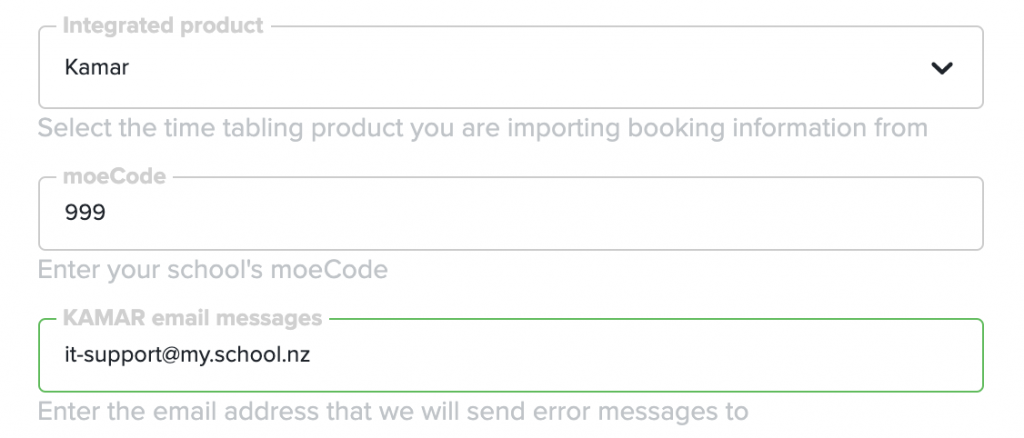
Save these details. We will then generate a random password that can be specified back in Kamar.

There is nothing we can then do from SOBS, we are waiting for Kamar to send the data to SOBS. You may have an option to tell Kamar to send the data to the Directory services you have defined.
7. Importing using LISS
LISS is a standards based interface protocol for the exchange of information between school based software packages. In order to use LISS you must have another package in your school that is also LISS compatible.
Click on your school name in the bottom left of the screen, and then select “Staff / Guests”. This will take you to the staff list.

From the staff list click the “Import” menu entry, in the menu on the left. This will display the list of import options.

Select the “LISS: import a list of teachers” option. A list of defined LISS connections will be displayed.

Click on the “Import process” to view the process steps for the import. Click on the “What is LISS?” to see more information about LISS.
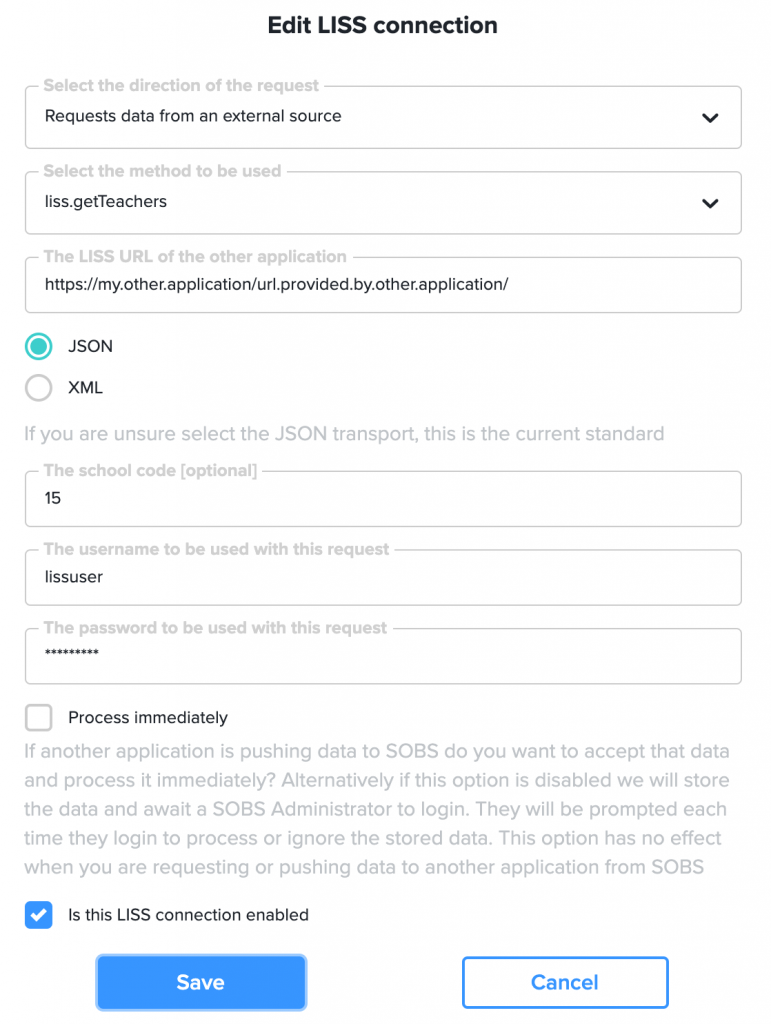
Use the action menus on the right to add edit and delete the LISS connections. Below is an example configuration where you would be requesting staff records from another LISS enabled application at your school:
8. Importing using SIF
Under development…