Apr 18, 2020
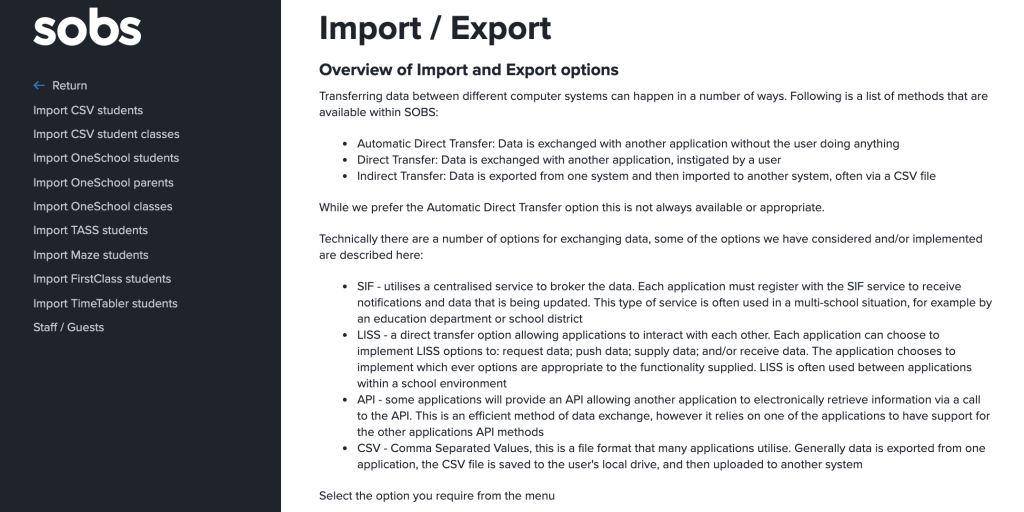
When you first start using Permission Slips it is necessary to upload your student, parent and class data. We have a number of import options available, choose the most appropriate for your school.


Import your student data, parent data, and any class data you have. This will provide the best selection options when it comes to choosing which students to include for a Permission Slip.
You will then be ready to create your first Permission Slip.

Folders
Permission Slips are organised into folders. By default you will have a folder based on the current year. You can create additional folders to group various slips together. You can also share a folder with the rest of the school, and of course all of the Permission Slips in the shared folder will be accessible by other staff.
Each year the folders will start fresh, however in the menu on the left you will still be able to access folders from previous years.
Creating your first Permission Slip
You will be asked to add a description for the slip – you should use a description that will help parents understand what the slip is about.
You will also be asked for the type of Permission Slip you are creating. We have three types.
- SMS: This is a simple question sent to the parent via SMS and a typed response is captured when the parent responds using an SMS reply.
- WEB: This is the normal option when you need to communicate more information and/or require a number of responses from the parent. A URL link will be sent to the parent – when they click the link they will be taken to a form where they will begin viewing the content and entering their responses. This is a web page that will operate on the parent’s smart phone or on their home computer.
- PRINT: This is like the WEB form however it has the additional requirement that the printed form needs to be signed by the parent.
You can choose your preferred delivery medium. “Email / SMS” indicates that the preference will be to send the Permission Slip via email if the parent has an email address, if there is no email address then send via SMS to the parent’s smart phone. Similarly, “SMS / Email” indicates that the preference is to send via SMS first and secondly via Email.
Lastly you will be asked for the date and time that responses are due by, and if the ‘Block response’ option is checked, the responses are required by this date and time. ‘Block response’ indicates no responses will be accepted after this date and time.
Adding students to your Permission Slip

Search for students by name, class or year level. You can individually select students, or use the ‘Select all’ link to select all of the students listed.
Add content to your Permission Slip
I’ve added two content entries to this slip. The first will be a pull down selection, the second will be a typed response.

Sending your Permission Slip
At this stage you are now ready to send your Permission Slip. Select the option from the action menu on the right, “Send to parents…”

Parent interface
Parents will receive either an SMS or an Email. In our above example the message will include a link as shown below in Email form.

The parent clicks the link to enter their first response.

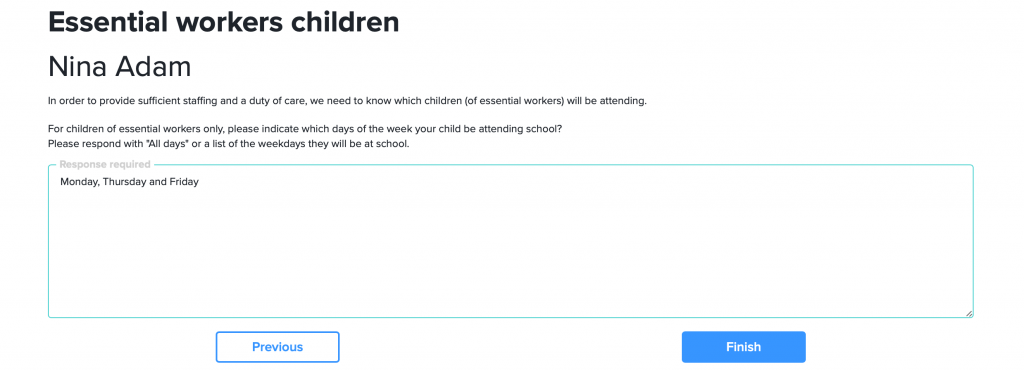
In this example the parent will enter a typed response for the second question.

At the conclusion of the last question a summary of the responses is displayed, and options for the parent to update their responses or print them.

Back at school our list of students now shows that we have had a response from this parent.

In the instance where parents have not responded and we want to send a reminder, and only to the parents who haven’t responded, there are two options. 1) We can resend to the same contact address, or, 2) We can send to an alternative contact, eg a mobile number instead of an email, or the email for the alternate parent, it depends on what contact information we have available.